The Studio Workspace
The workspace keeps project navigation on the left, editing in the center, context on the right, and project-wide tools in the bottom dock.
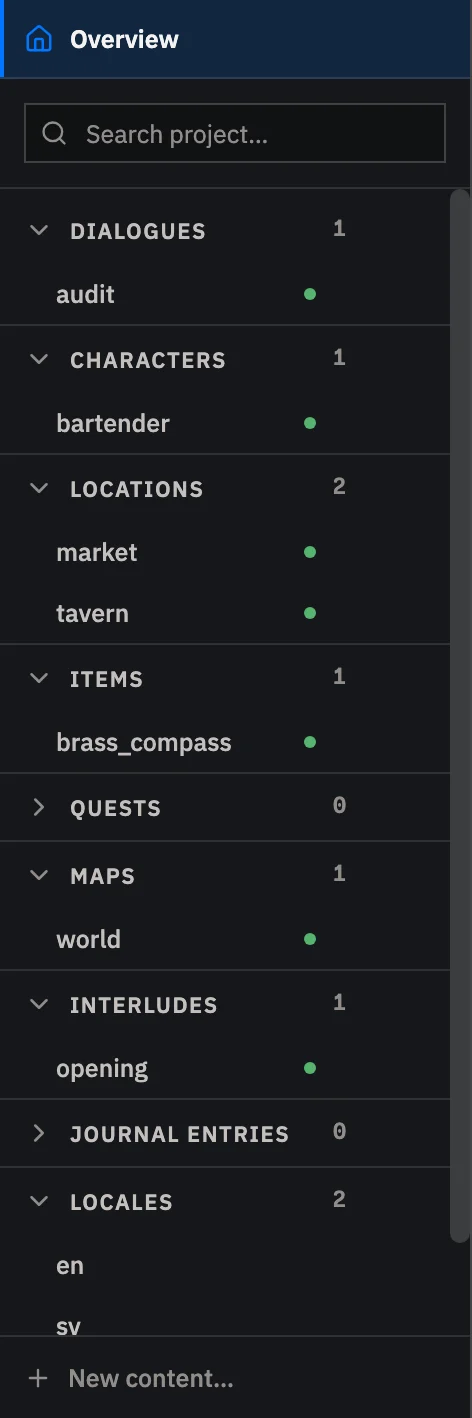
Project rail
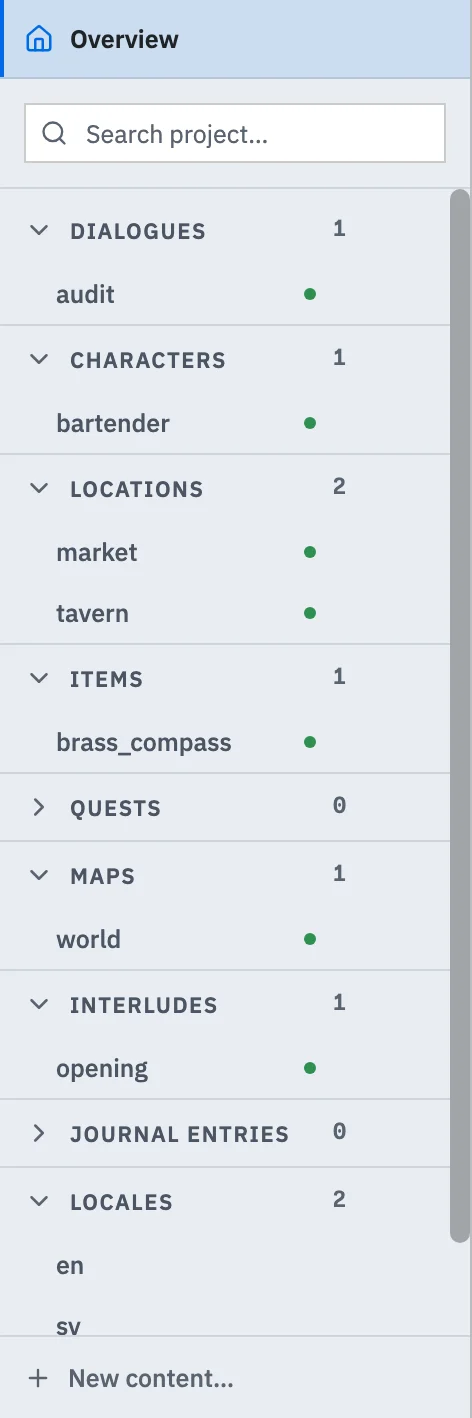
Section titled “Project rail”Select Overview at the top of the project rail to review the project version, engine and dependency status, validation result, content counts, and starting state. The search field below it finds content by name.
The rest of the rail organizes your game into Dialogues, Characters, Locations, Items, Quests, Maps, Interludes, Journal entries, Locales, and Game Config. Select an item to work on it, or use the + beside a section to create one. Hover over an item or reach it with the keyboard to show its Rename and Delete buttons. Renaming also updates known references to that ID, and deleting asks for confirmation.
Visual mode
Section titled “Visual mode”Visual mode provides fields and controls suited to the selected type of game content.
Enter the words the player should see directly into text fields.
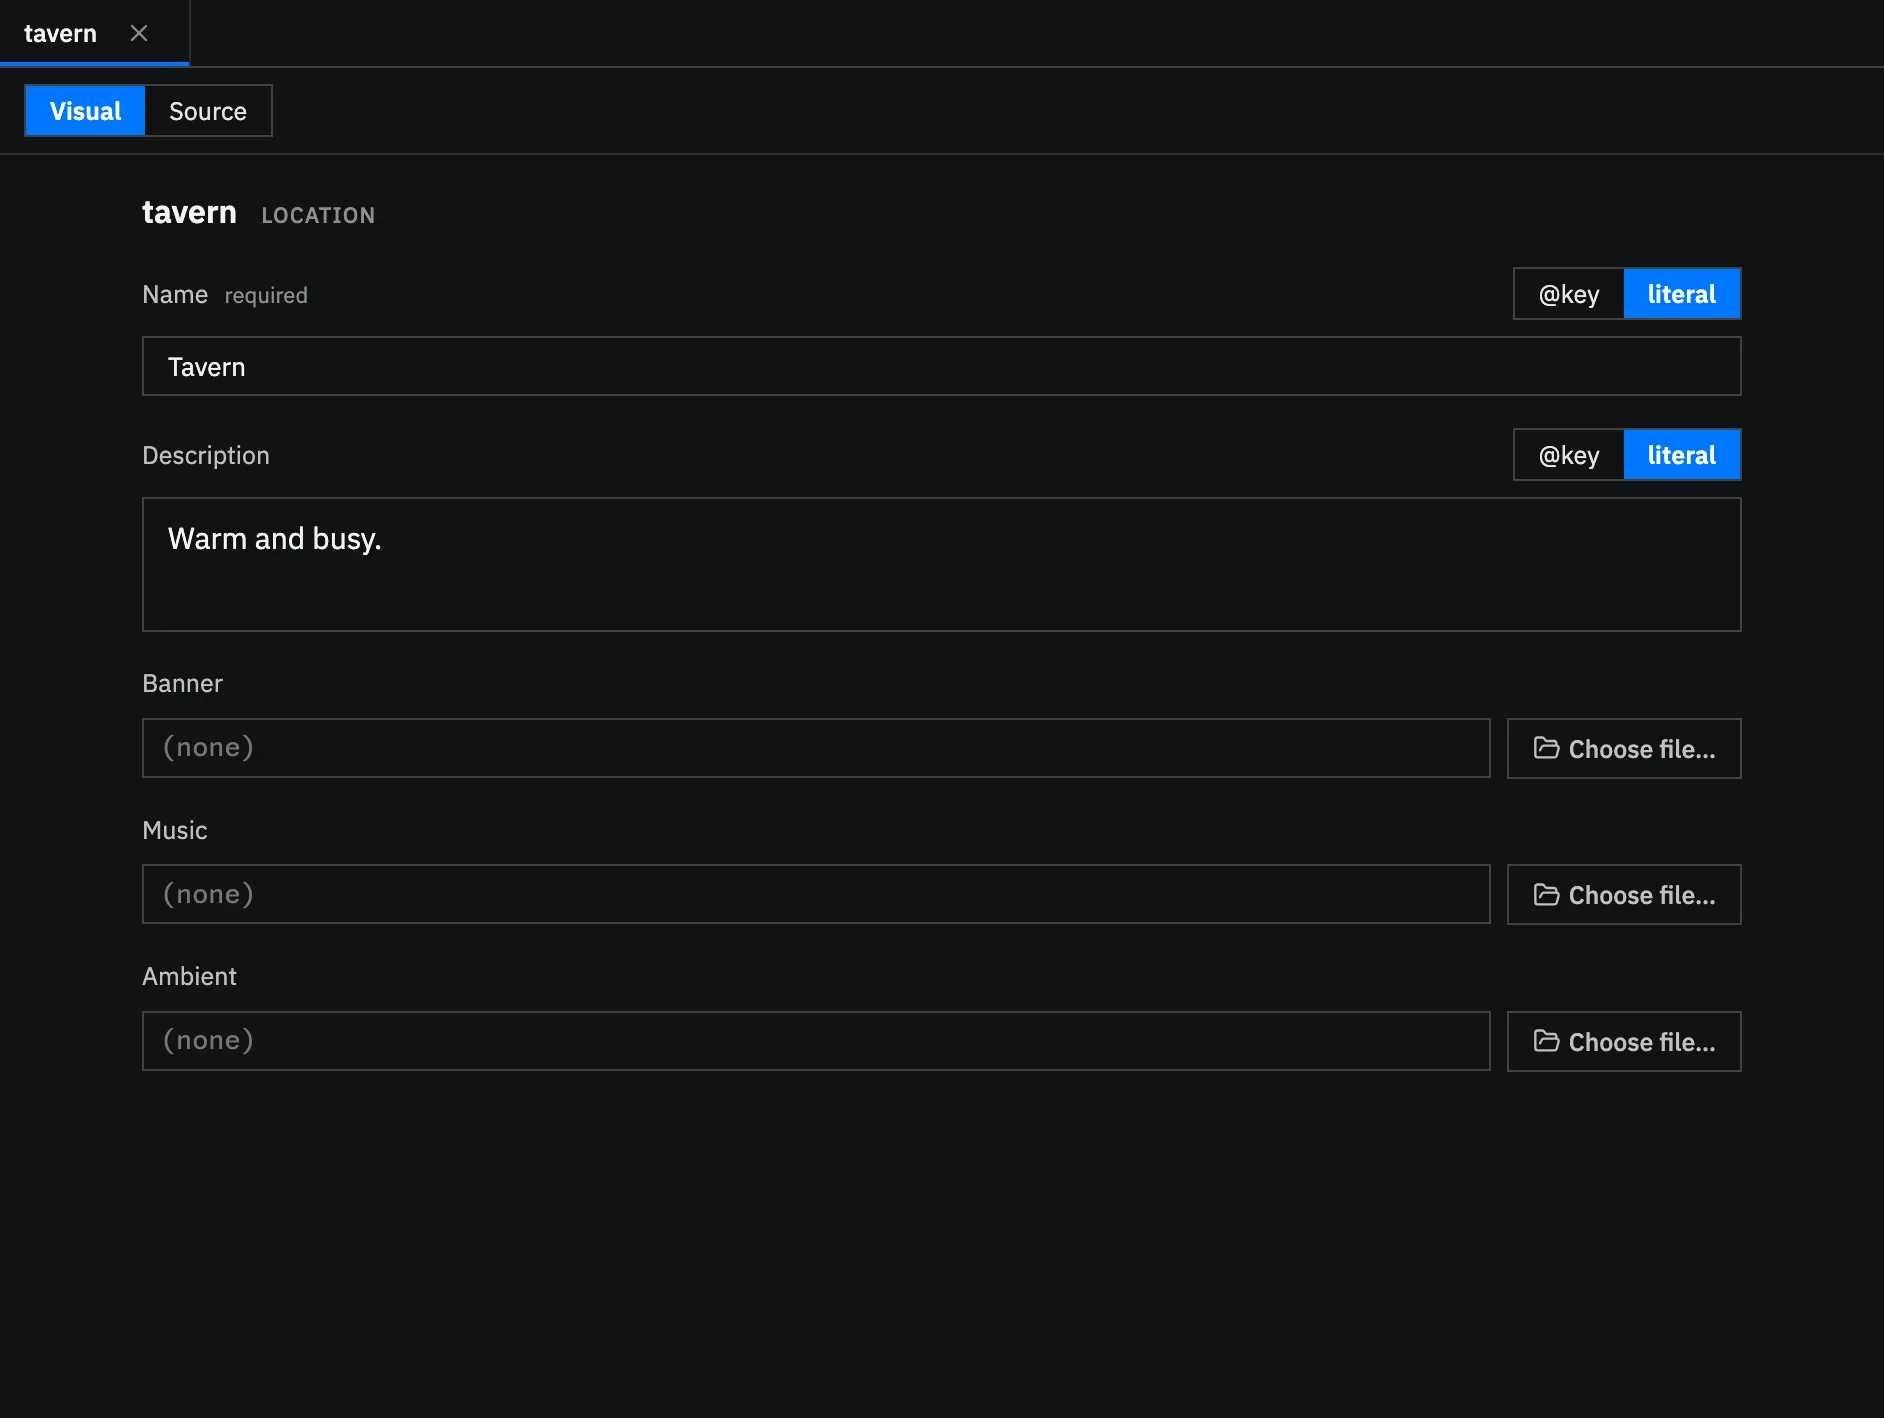
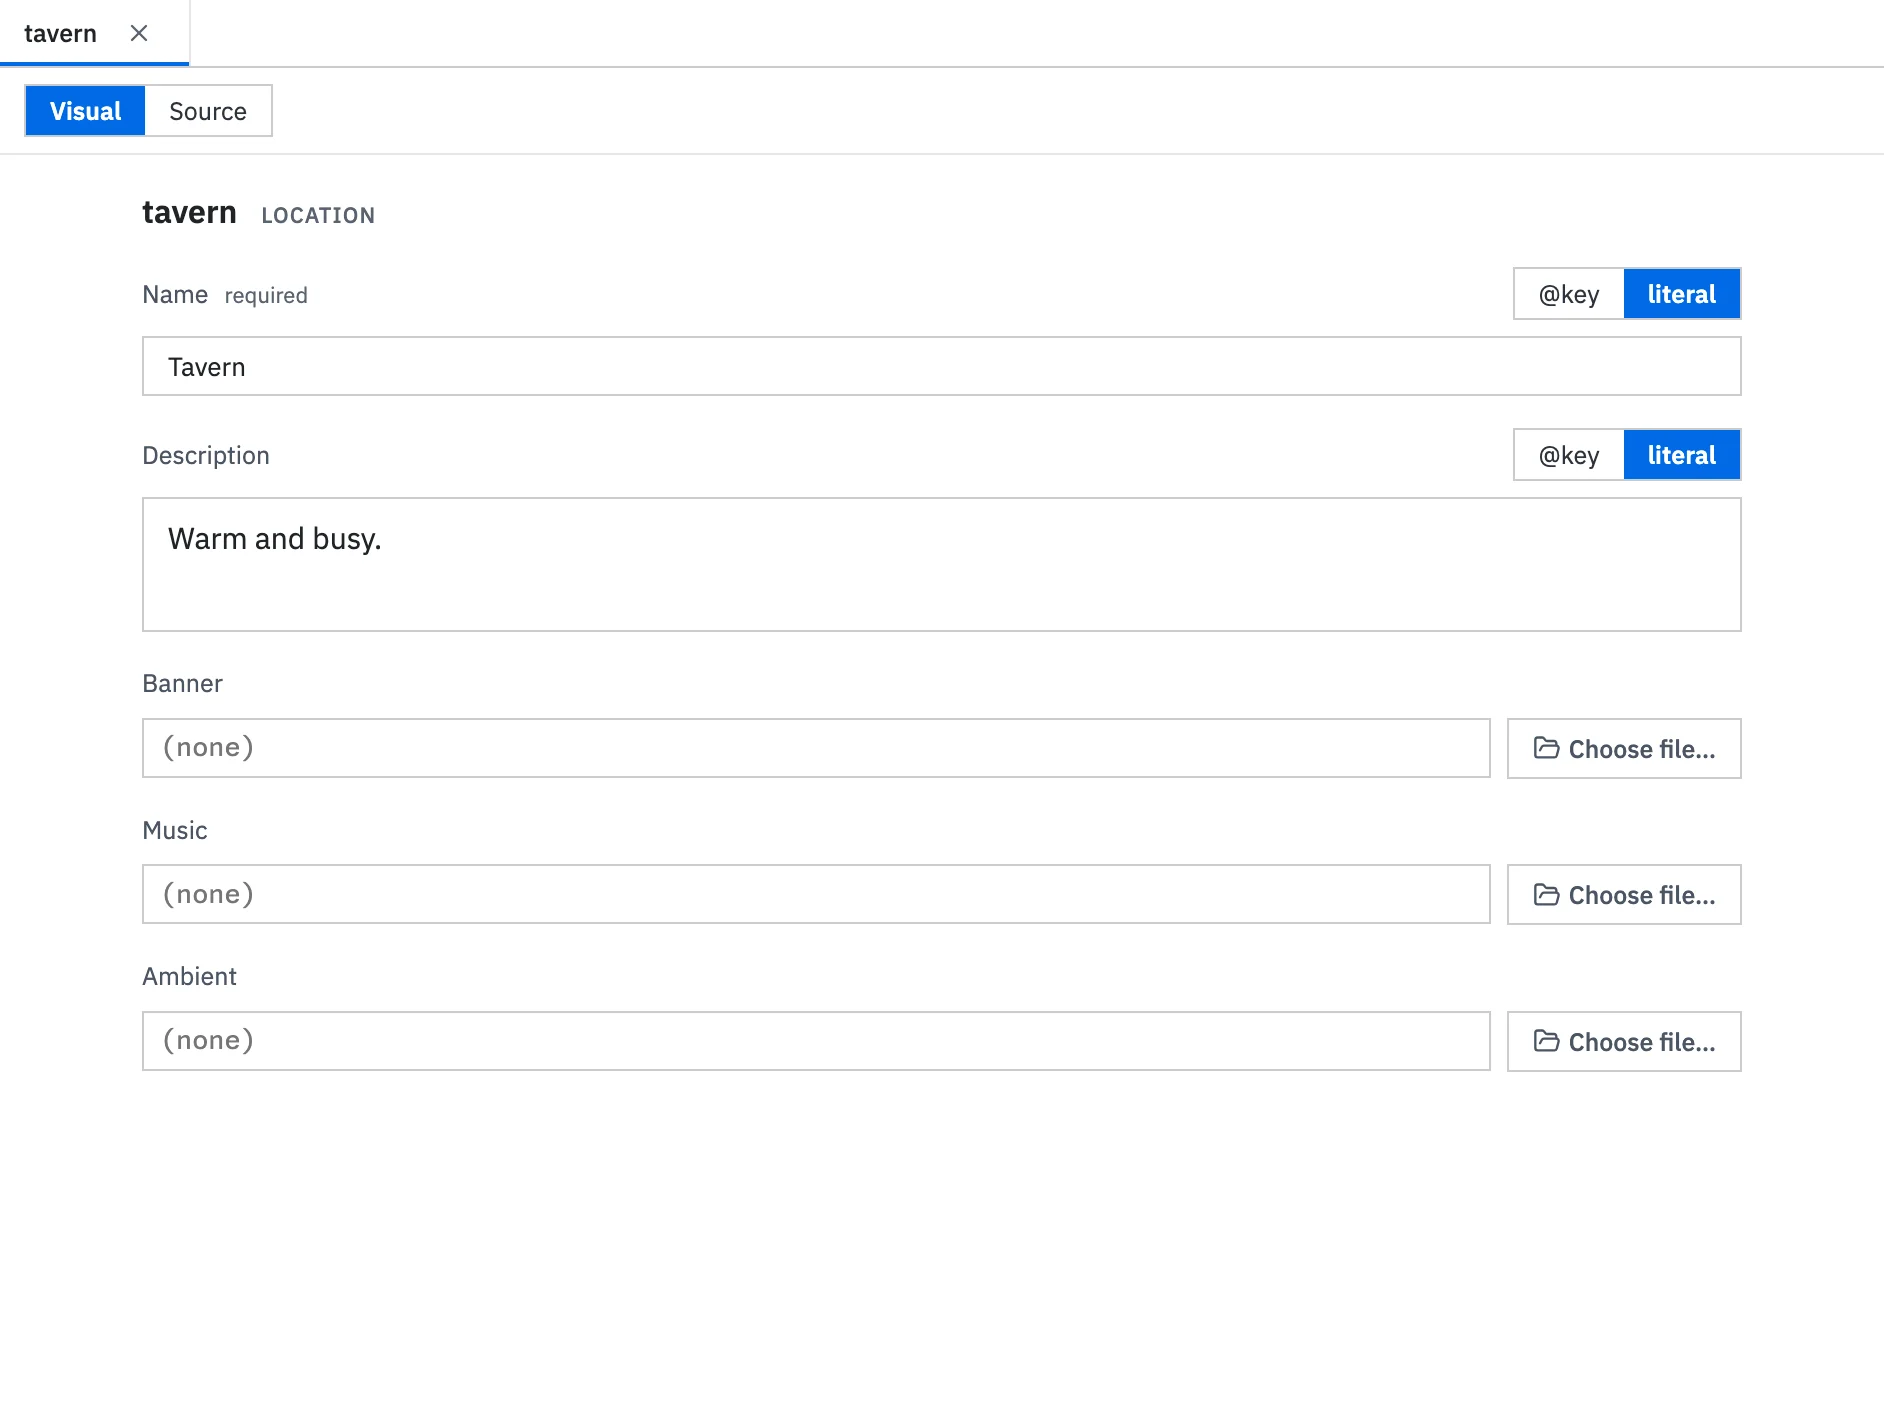
Studio autosaves edits made in Visual mode after you stop typing. A dot in the tab means the latest edit has not been saved yet. Press Ctrl+S on Windows or Cmd+S on macOS to save immediately.
Dialogue tabs also include Graph, a read-only map of how the conversation moves from one node to another. Use it to follow branches and open a node in Visual, then use Visual or Source to make changes. The dialogue editing guide explains each part of the graph.
Source mode
Section titled “Source mode”Select Source to edit the active game file directly. Source uses the same file as Visual, so you can move between the two views instead of maintaining a separate copy. Doodle Engine dialogue files and YAML each have syntax highlighting suited to their structure.
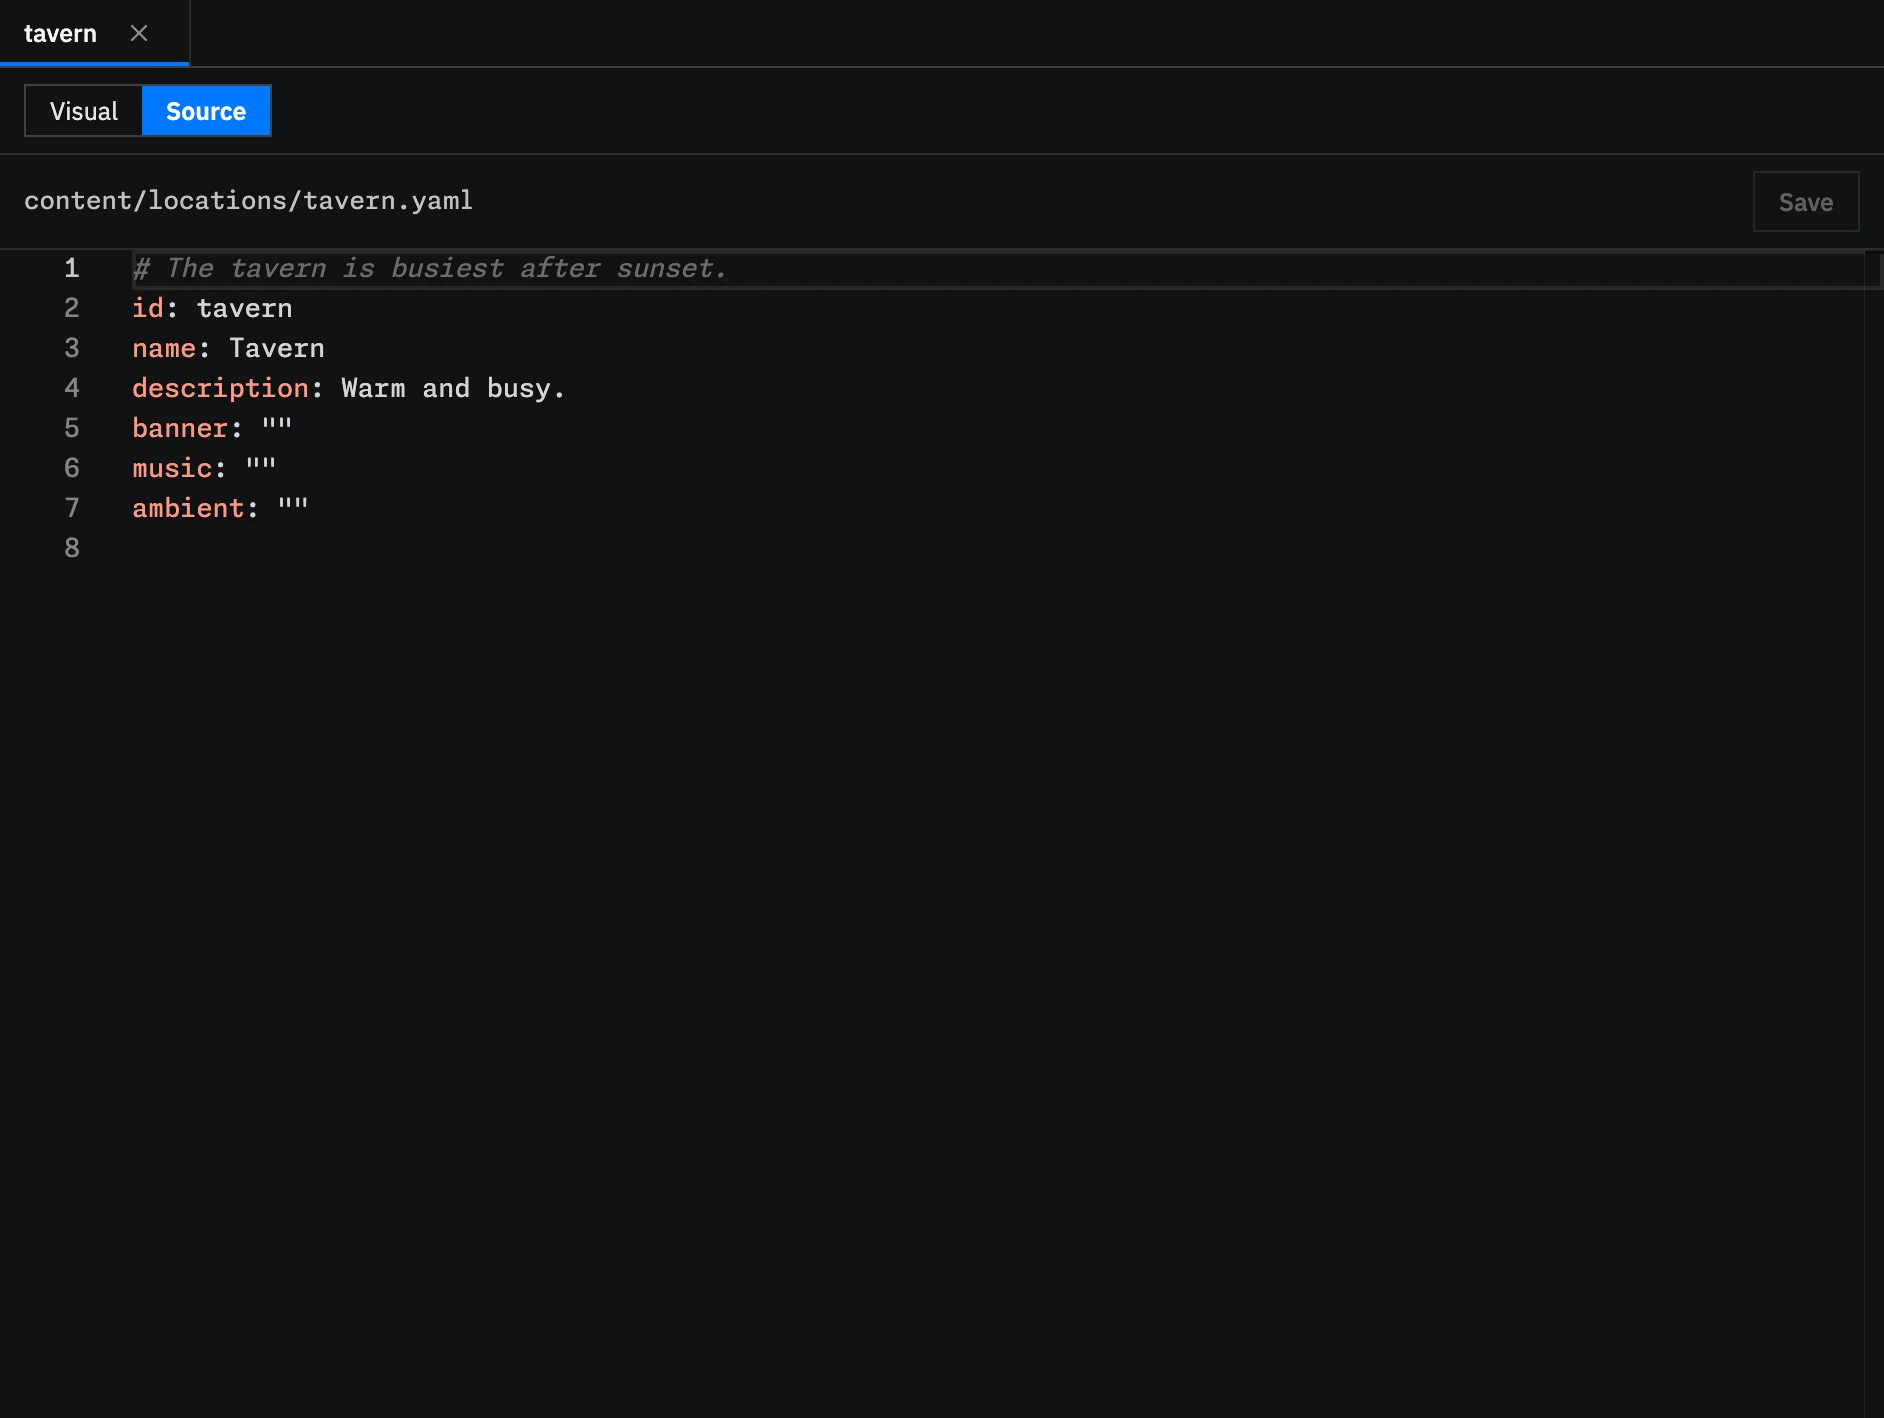
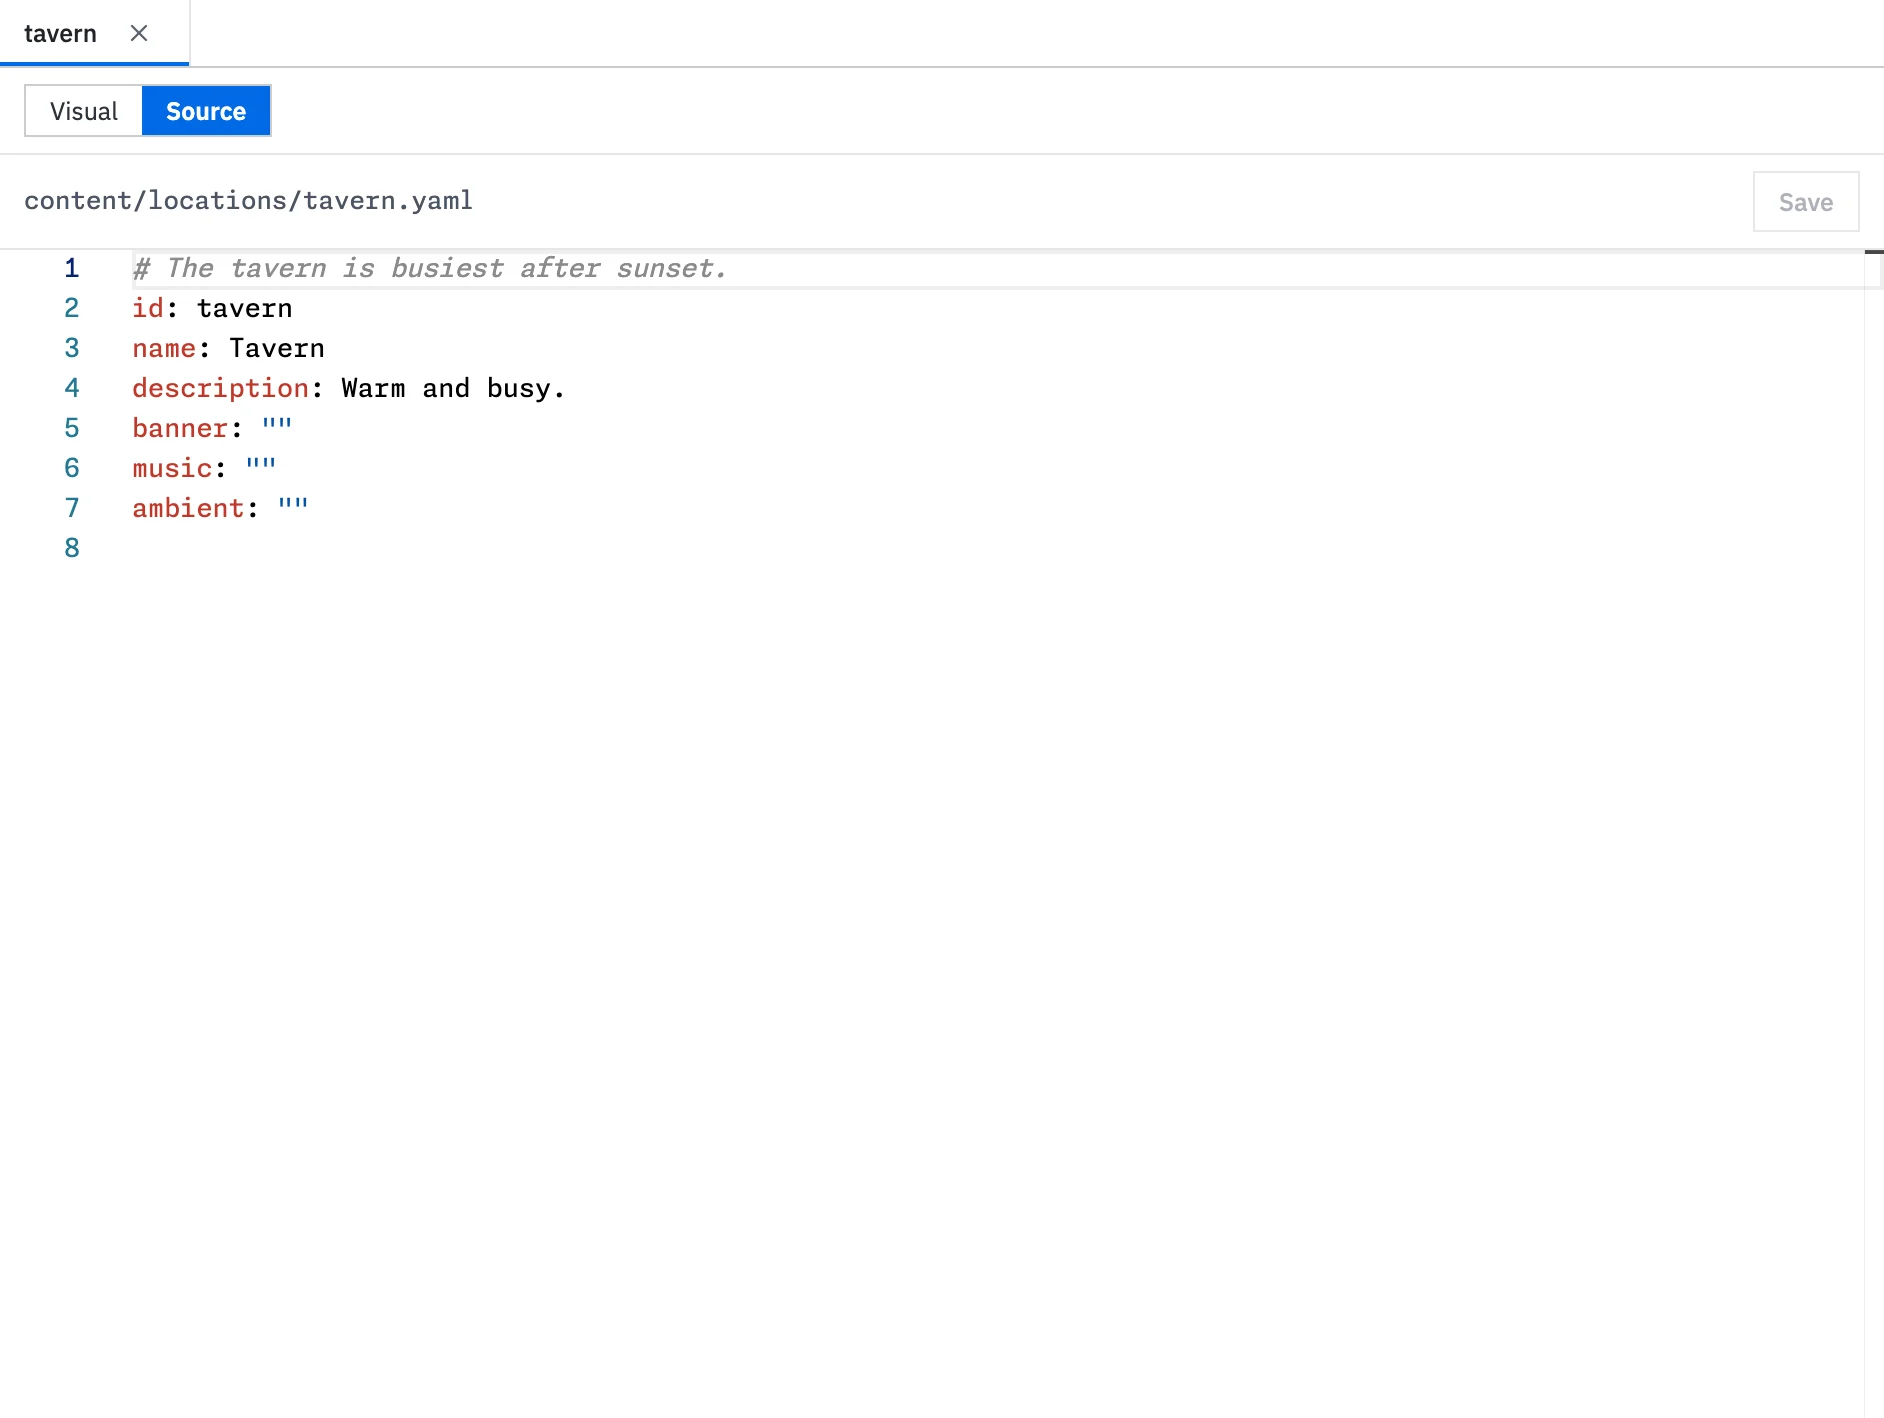
Source edits save shortly after you stop typing. Press Ctrl+S on Windows or Cmd+S on macOS to save immediately. Studio keeps each open Source editor mounted when you switch tabs, preserving its undo history and avoiding a reload when you return.
After validation, problems that Studio can locate appear as markers on the relevant source lines. Select a source problem in the right panel or bottom dock to open its file and move the cursor to the affected line. Once changed source is saved, markers from the previous validation are hidden. Select Validate again to check the new text.
Studio also keeps a recovery copy while source text is unsaved. If the app closes unexpectedly, the file offers Restore and Discard the next time it opens. If the file changes outside Studio while it has unsaved edits, choose Reload to use the file from disk or Overwrite to keep the version in Studio. A file deleted outside Studio can be recreated from the editor.
Dialogue files add project-aware suggestions and command help. See Dialogue IntelliSense for the commands and values Source can complete.
References and validation
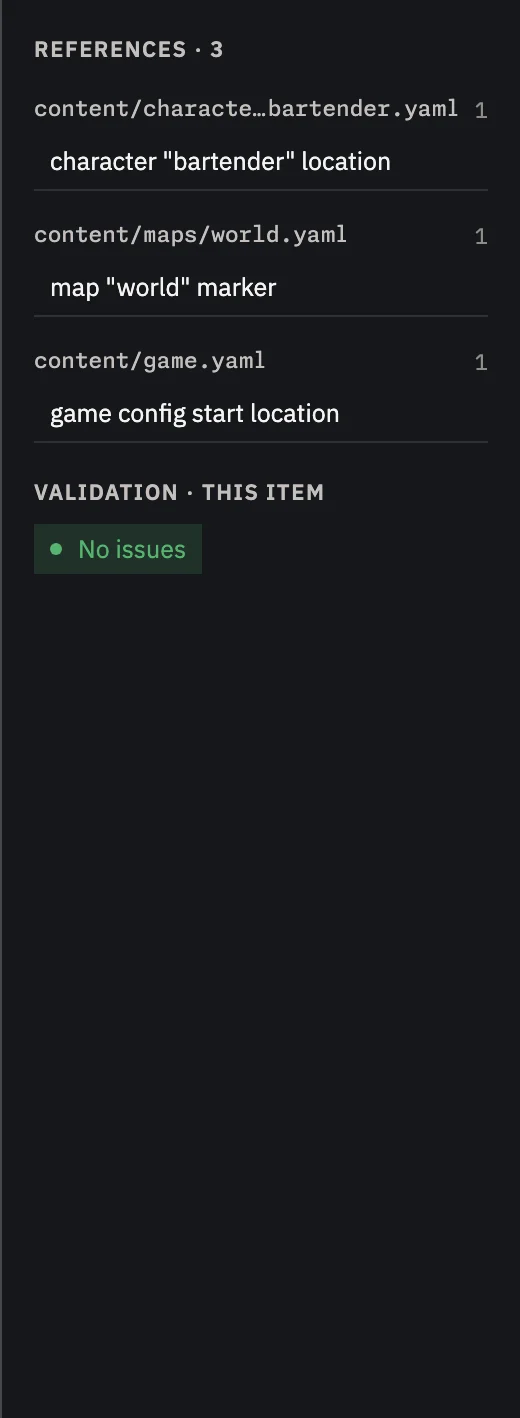
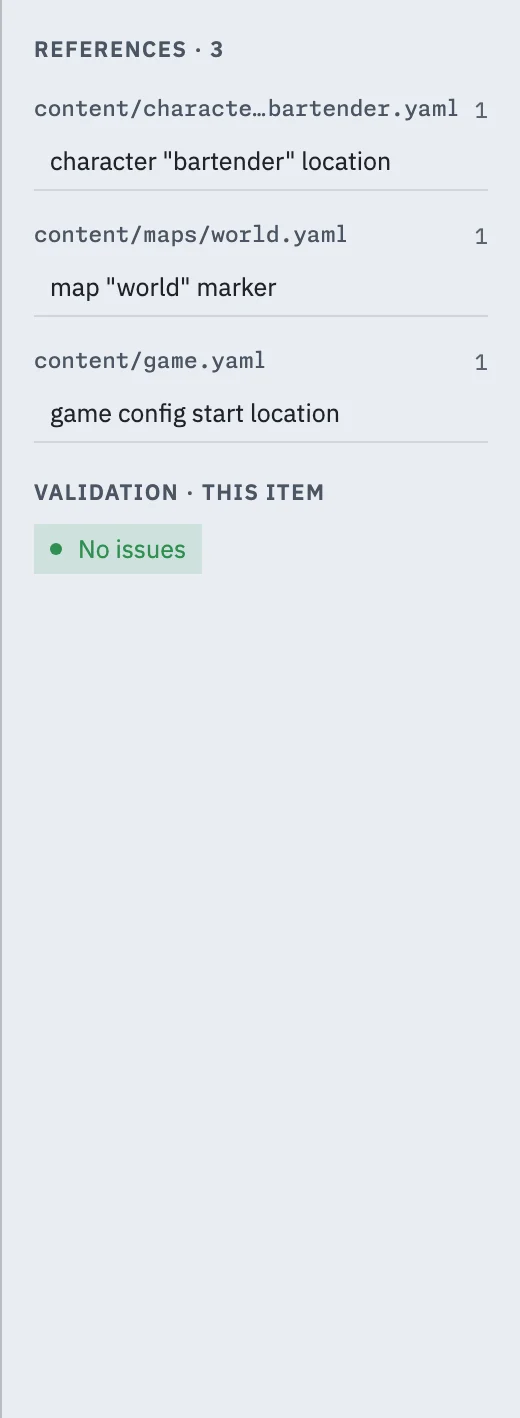
Section titled “References and validation”The right panel helps you understand how the selected item connects to the rest of the game:
- References lists every known place where that ID is used. Select a reference to open its file.
- Validation lists problems for the active file.
The Problems tab in the bottom dock lists issues across the project. Selecting a problem opens the relevant content.
Flags and variables
Section titled “Flags and variables”Select Flags & vars in the top bar to open the project-wide page for these names. Use it to find where a name is set or checked, keep a note about its purpose, and rename known uses. See Flags & Variables for the complete workflow.
Command palette
Section titled “Command palette”Press Ctrl+K on Windows or Cmd+K on macOS to open the command palette, then type a few letters and press Enter. It searches three groups at once: project actions (Validate, Build, Playtest, Preview, themes, update check), every content item in the project by name, and every flag and variable. Opening a dialogue or jumping to a flag’s details this way is usually faster than scrolling the project rail.
Make the workspace your own
Section titled “Make the workspace your own”Open Themes in the application menu to choose the colors you want to work with. Each theme has its own default accent, and you can also choose another accent color. See the Studio themes gallery to compare them.