Validate, Preview, and Build
Studio provides three tools for finishing work: Validate checks content structure and references, Preview runs the game with the renderer in your project, and Build repeats the same content checks, confirms that referenced asset files exist, and then creates the files you will publish. This page walks through each in the order you typically use them.
Validate content
Section titled “Validate content”Select Validate in the top bar after a group of edits. The status beside the project name changes to:
- All valid when the loaded content passes
- Not validated after files change
- A problem count when validation finds issues


Validation covers YAML and dialogue syntax, IDs, references, start locations, quest stages, localization keys, dialogue routes, conditions, and effects. See Content Validation for details about each check.
Work through validation problems
Section titled “Work through validation problems”Use Problems in the bottom dock to work through the whole project. Use Validation in the right panel when you want to concentrate on the item already open.
Select a problem to go to the affected content. For a dialogue problem, Studio opens the matching node in Visual and scrolls to the relevant field or section when the message identifies one. Problems that point to source text open near that part of the file in Source.
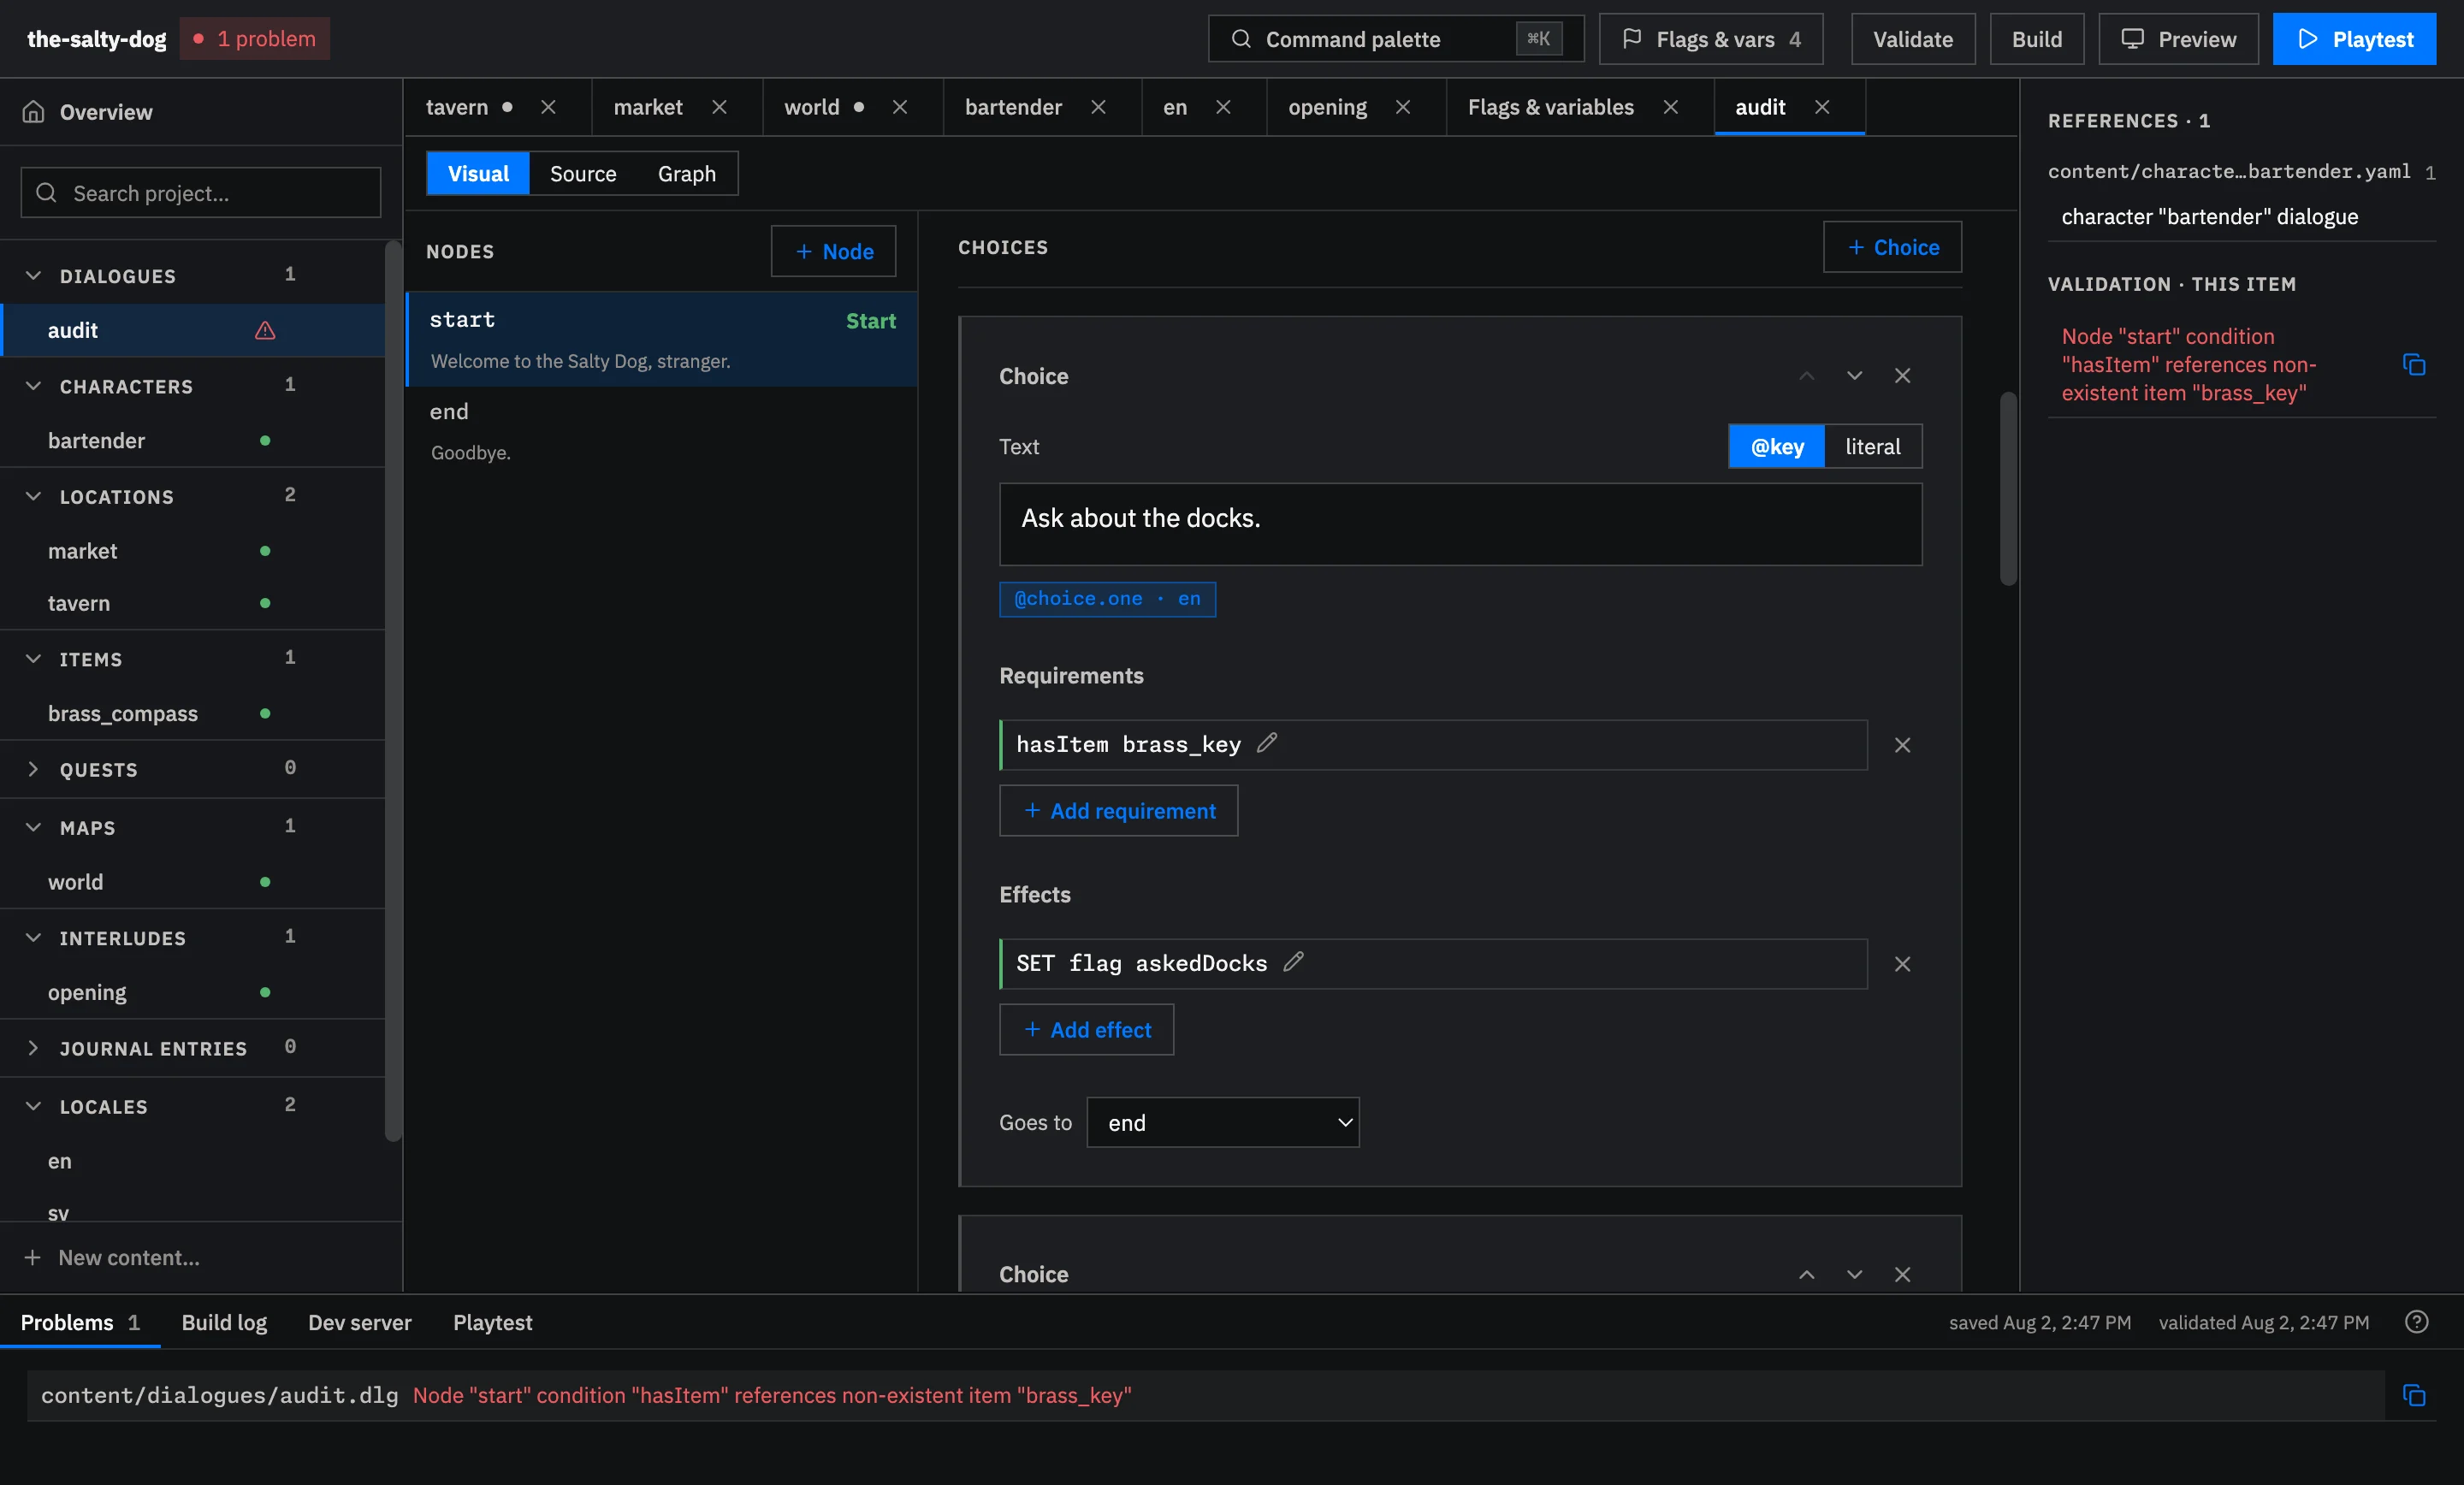
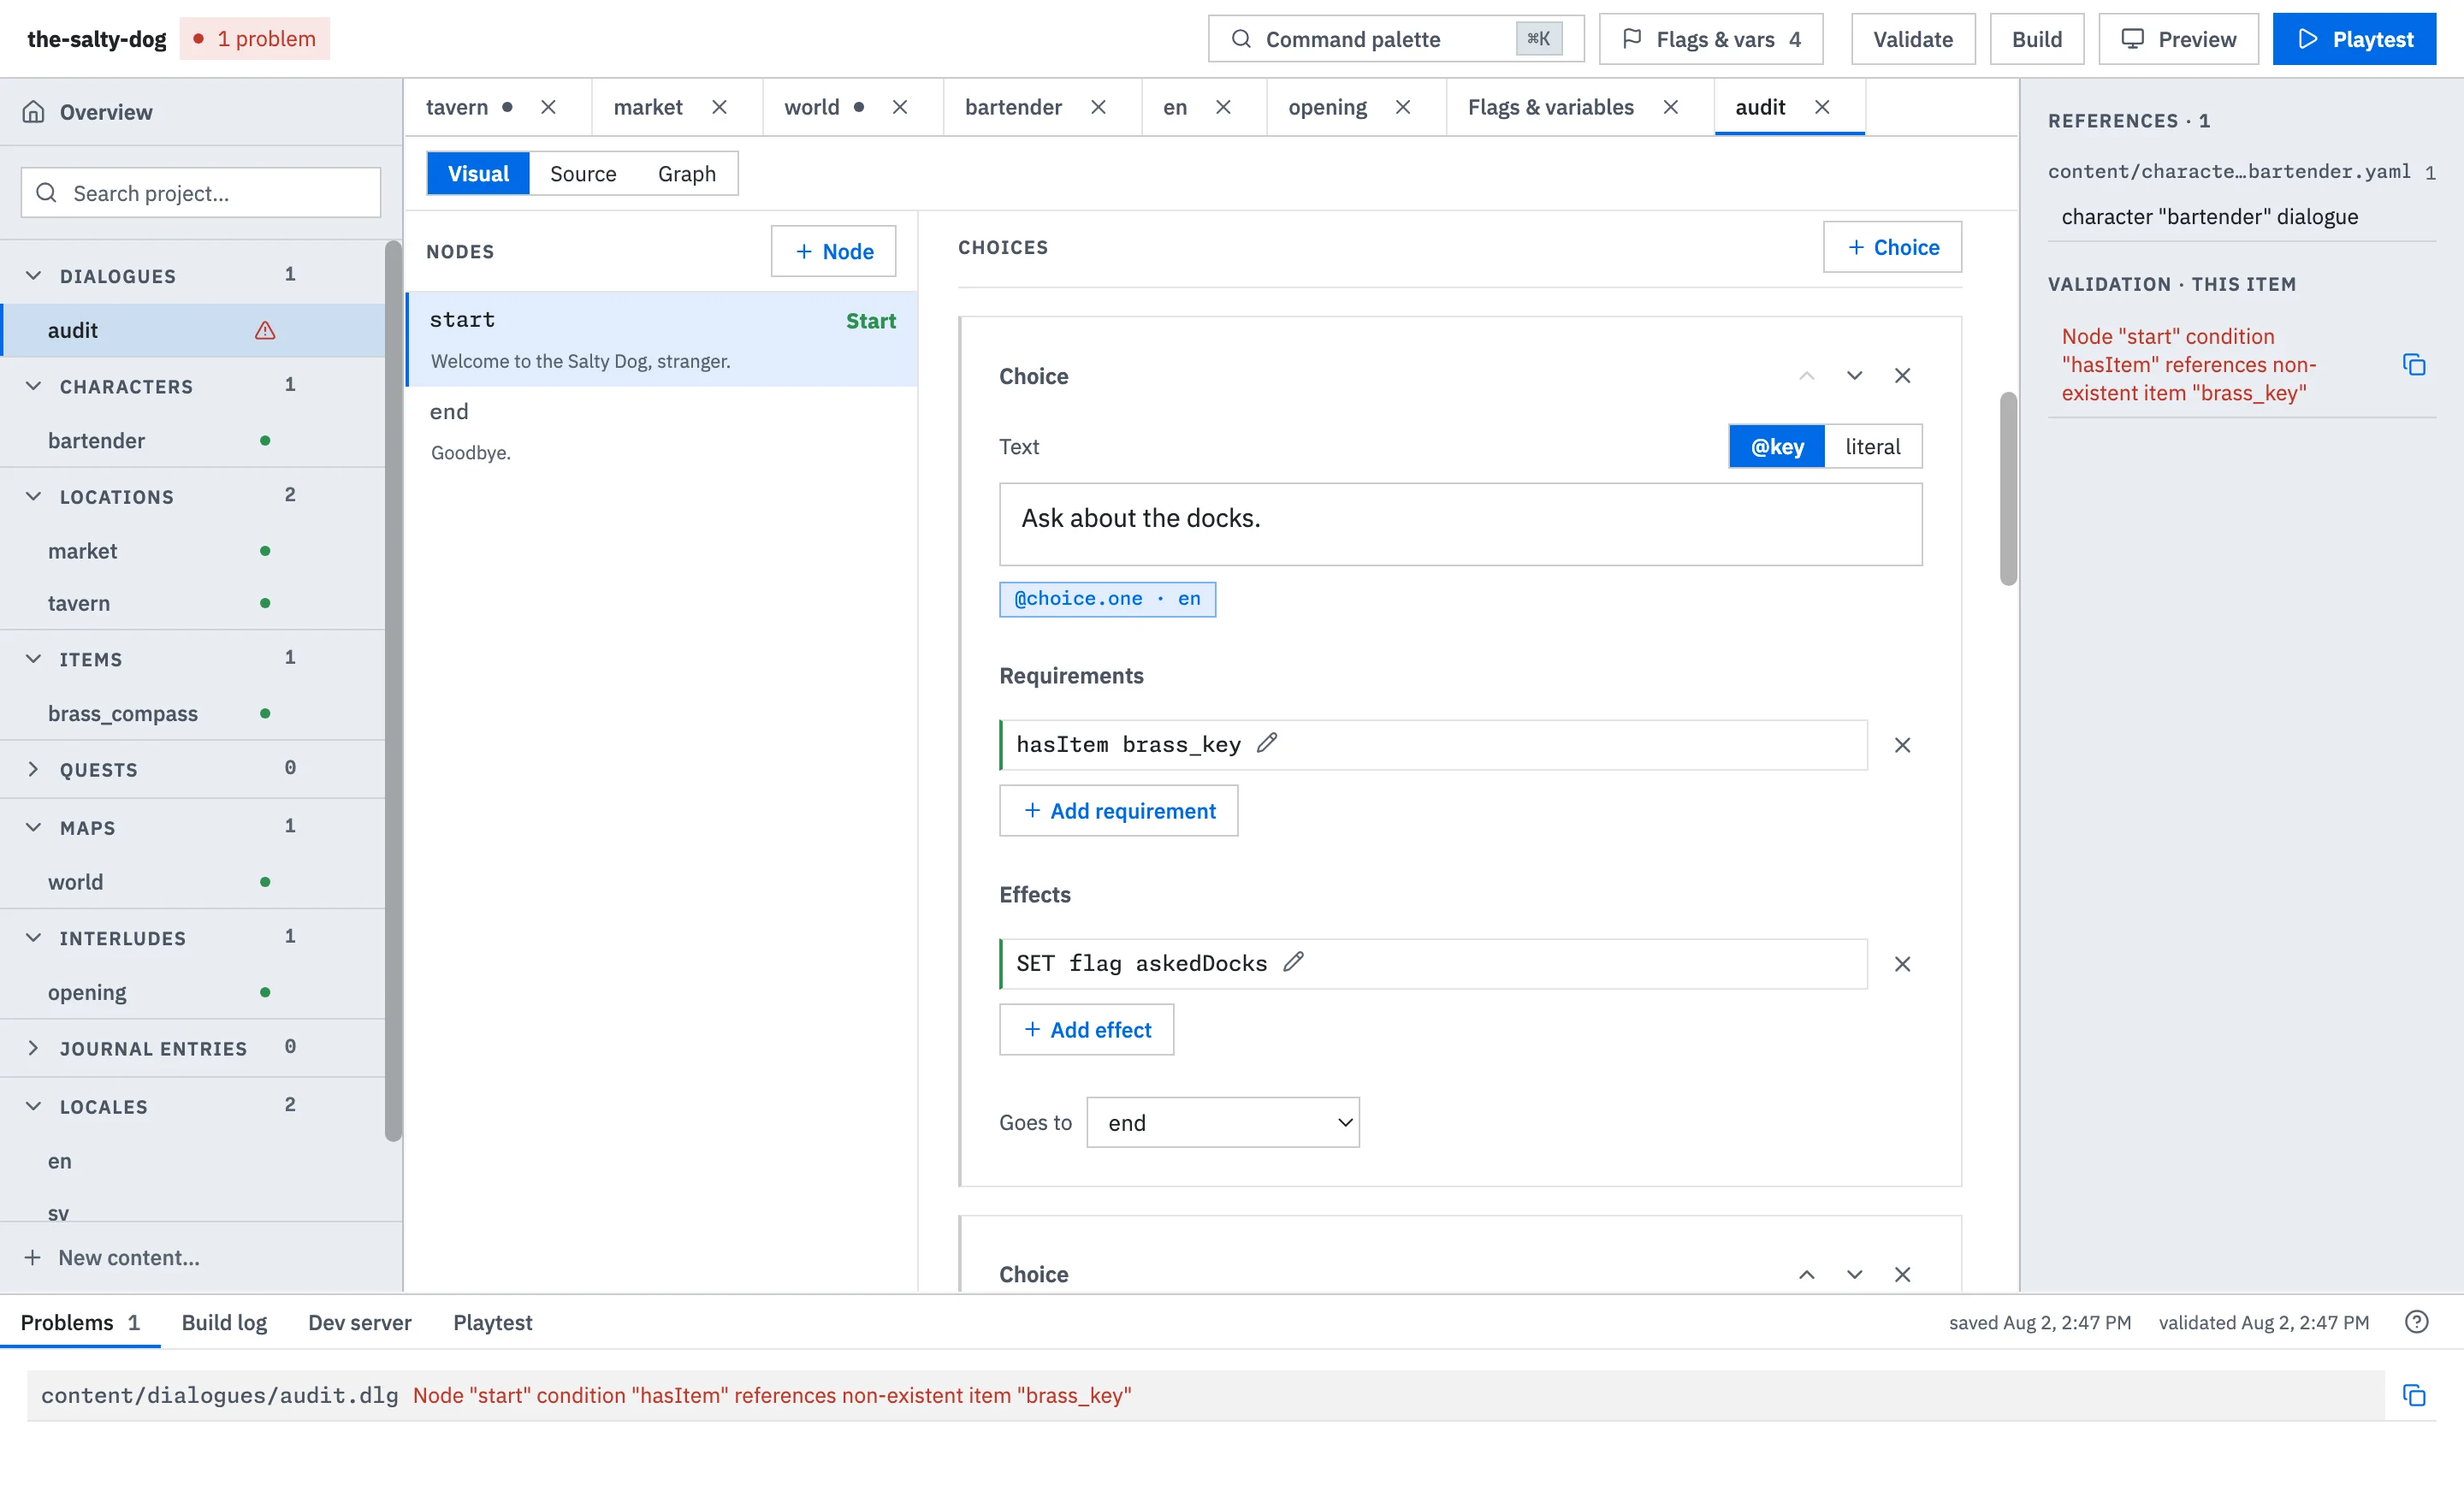
Select Copy problem beside a problem to copy its filename and complete message. You can paste it into your notes, an issue report, or a help request.
After making the correction, select Validate again. The updated problem list and validation time confirm the latest check.
Preview the game
Section titled “Preview the game”Select Preview to start the project’s development server and open the game in your default browser.
While the server is running, the Preview button shows its port number. Select that button to reopen the game in your browser, or select Stop to stop the server. Server output appears in the Dev server dock.
Use Preview to experience the game as a player will, including its menus, presentation, media, saves, and controls.
Keyboard shortcuts
Section titled “Keyboard shortcuts”Studio’s Run menu and command palette show the shortcuts for its main project actions:
| Action | Shortcut |
|---|---|
| Open Playtest | F5 |
| Start or reopen Preview | F6 |
| Stop Preview | Shift+F6 |
| Validate | F7 |
| Build | Ctrl+Shift+B on Windows and Linux; Command+Shift+B on macOS |
Build for production
Section titled “Build for production”Select Build to create the files for release in the project’s dist/ folder.
The Build log dock streams progress, shows validation or Vite errors, lists generated files, and reports the final duration. After a successful build, select Open output folder to inspect the bundle.


The output includes the game application, content, assets, and a service worker. A service worker is a browser file that caches the game after its first visit so it can open offline later.
Choose the right tool
Section titled “Choose the right tool”| Goal | Studio tool |
|---|---|
| Check a dialogue branch or state condition | Playtest |
| Check content references and schema | Validate |
| Play the game with its project renderer | Preview |
| Produce files for deployment | Build |
For help with Studio or a command-line problem, see Reporting Issues and Feedback.
For browser-side game debugging during Preview, see Debugging with DevTools. For deployment options, continue to Hosting & Deployment.