Localization in Studio
Write your game’s text directly in Studio while building its first version. Add localization when you are ready to support another language.
Use a translation key
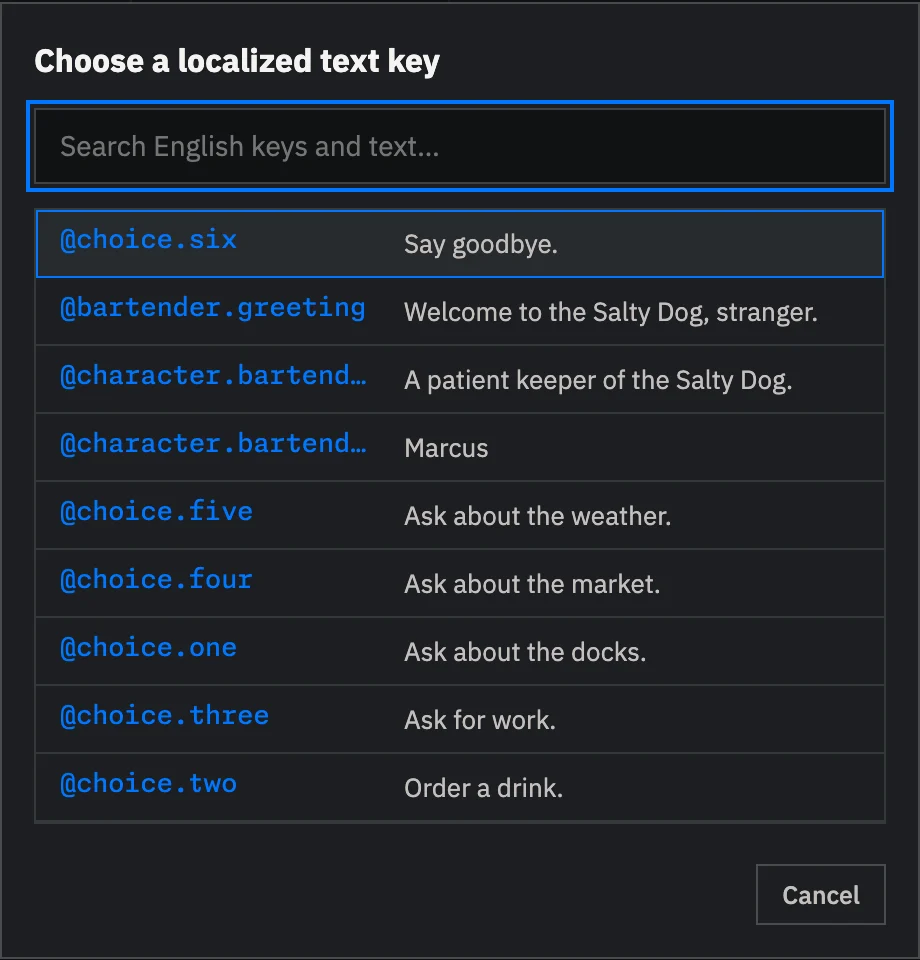
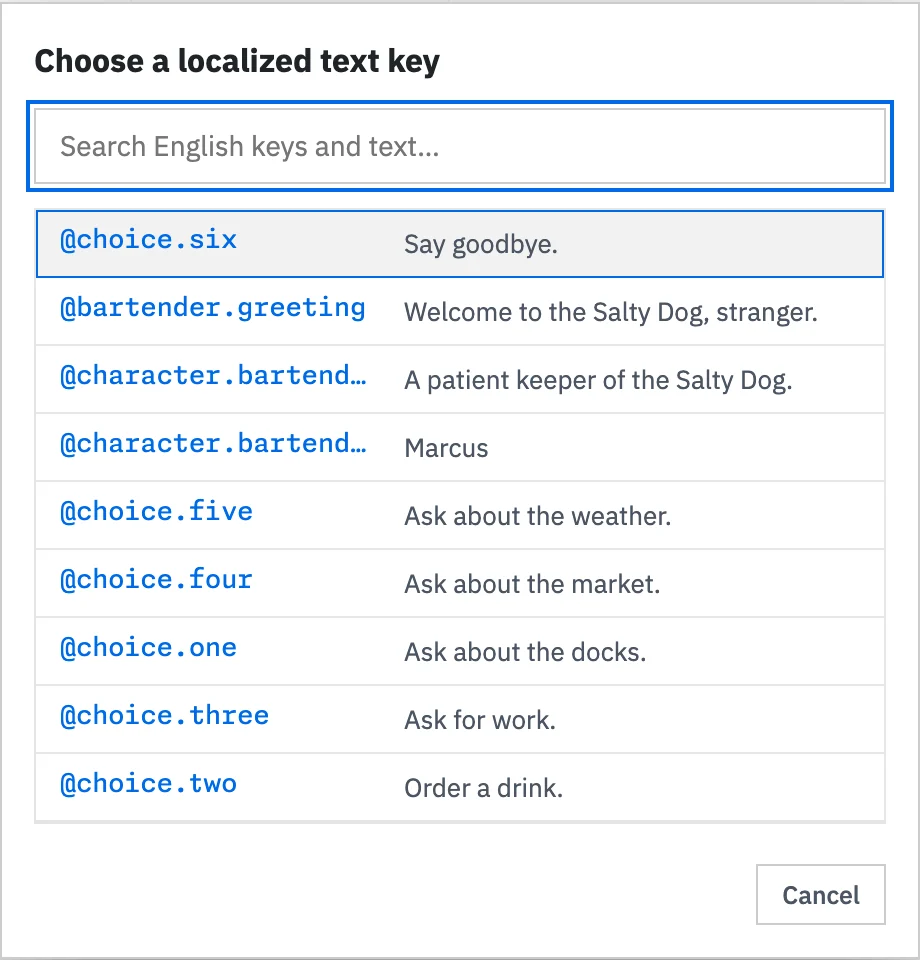
Section titled “Use a translation key”Open a character, location, or other content item with player-facing text. Select @key, then choose an existing key or create a descriptive one such as location.tavern.name. When you create a key, Studio starts its English translation with the words already in the field.
If an existing key contains different words, choose whether to use its translation or replace it with the current text.
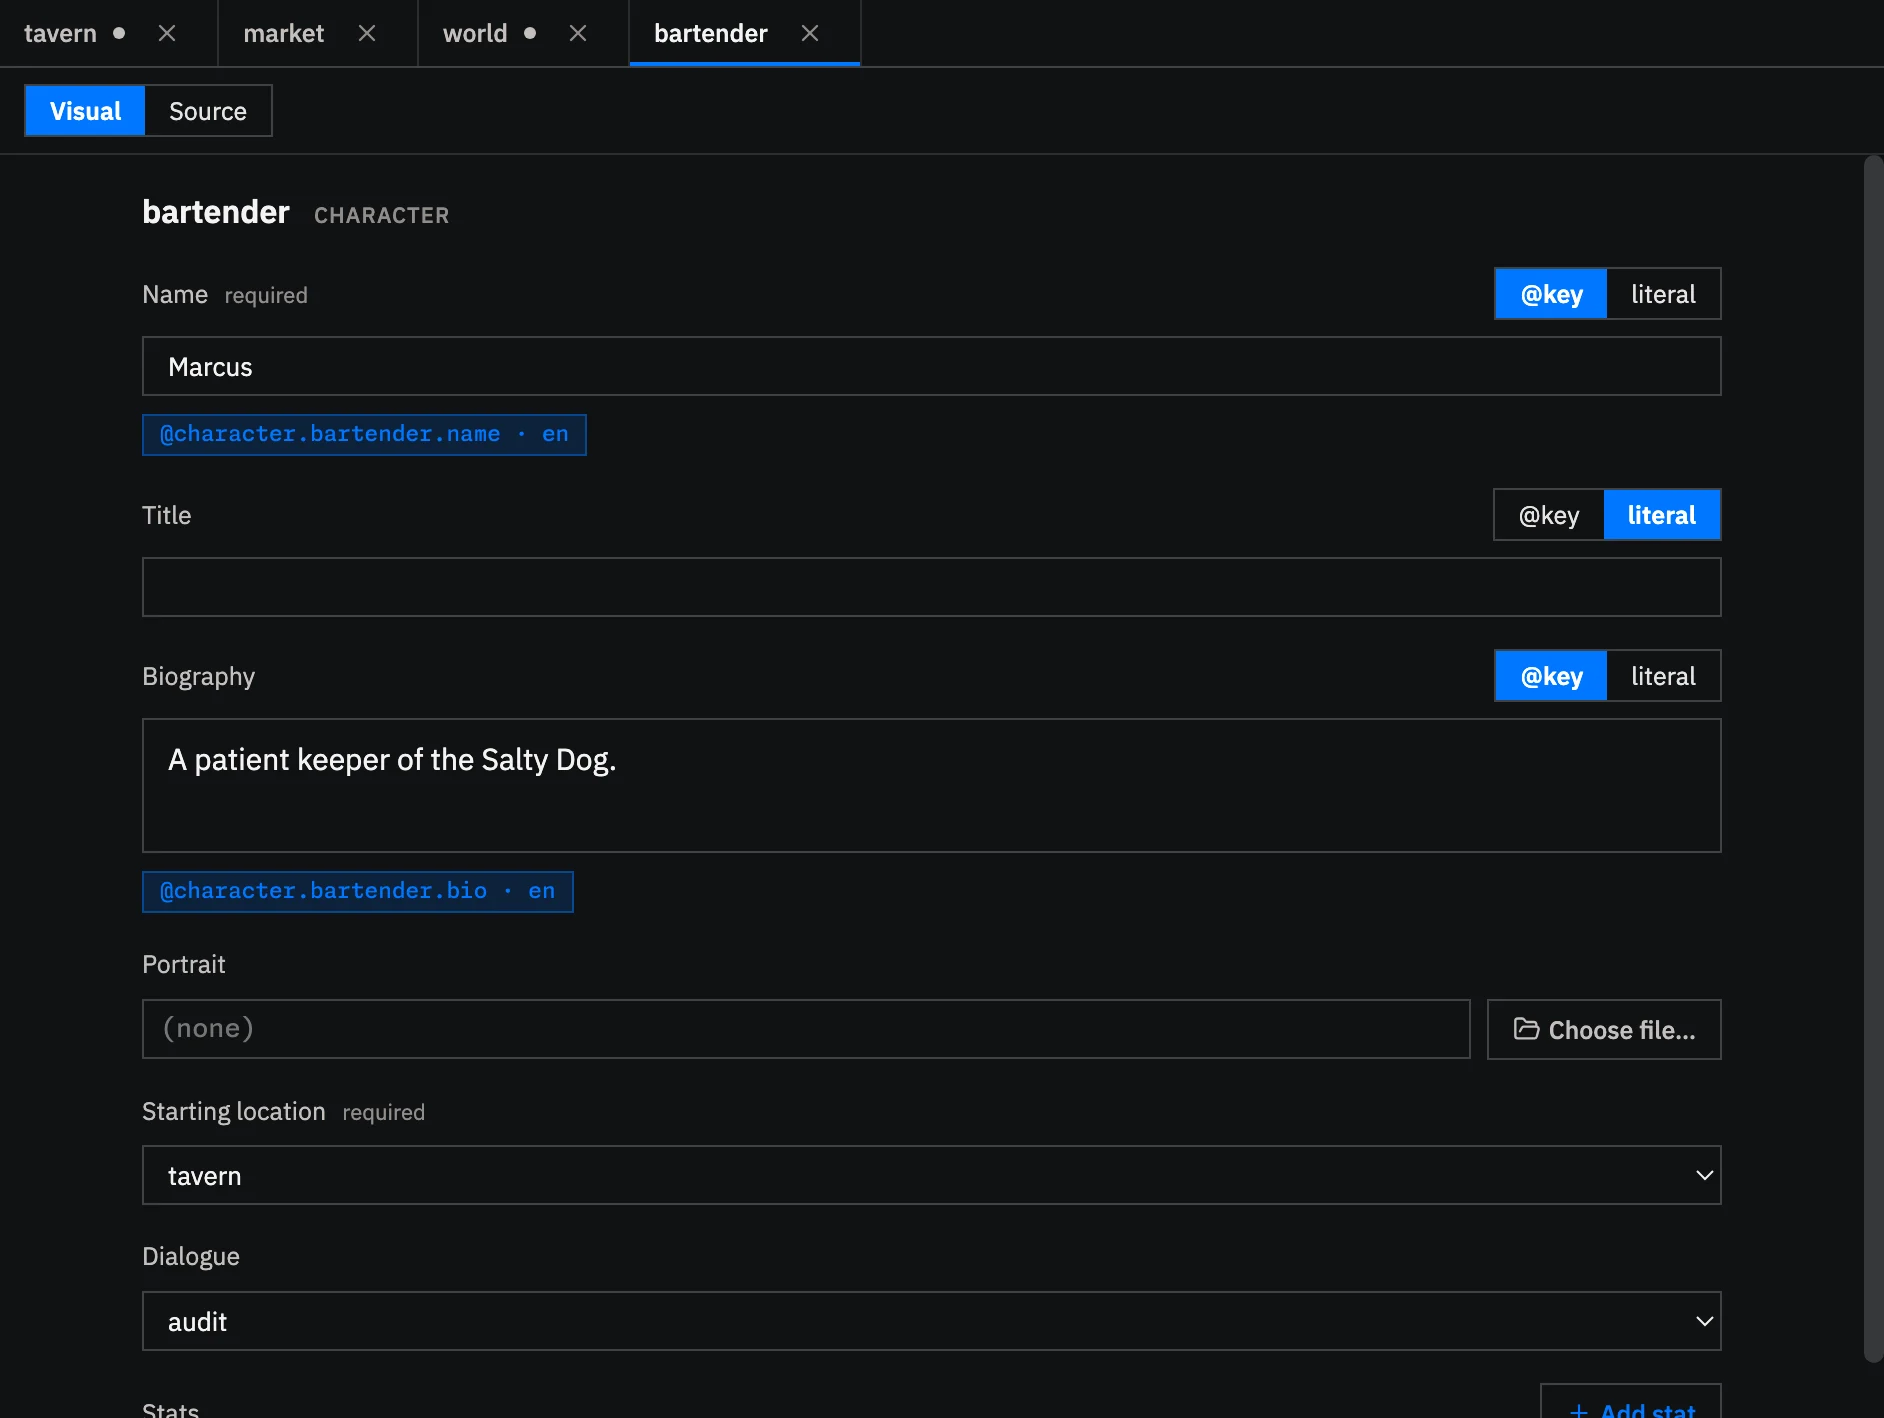
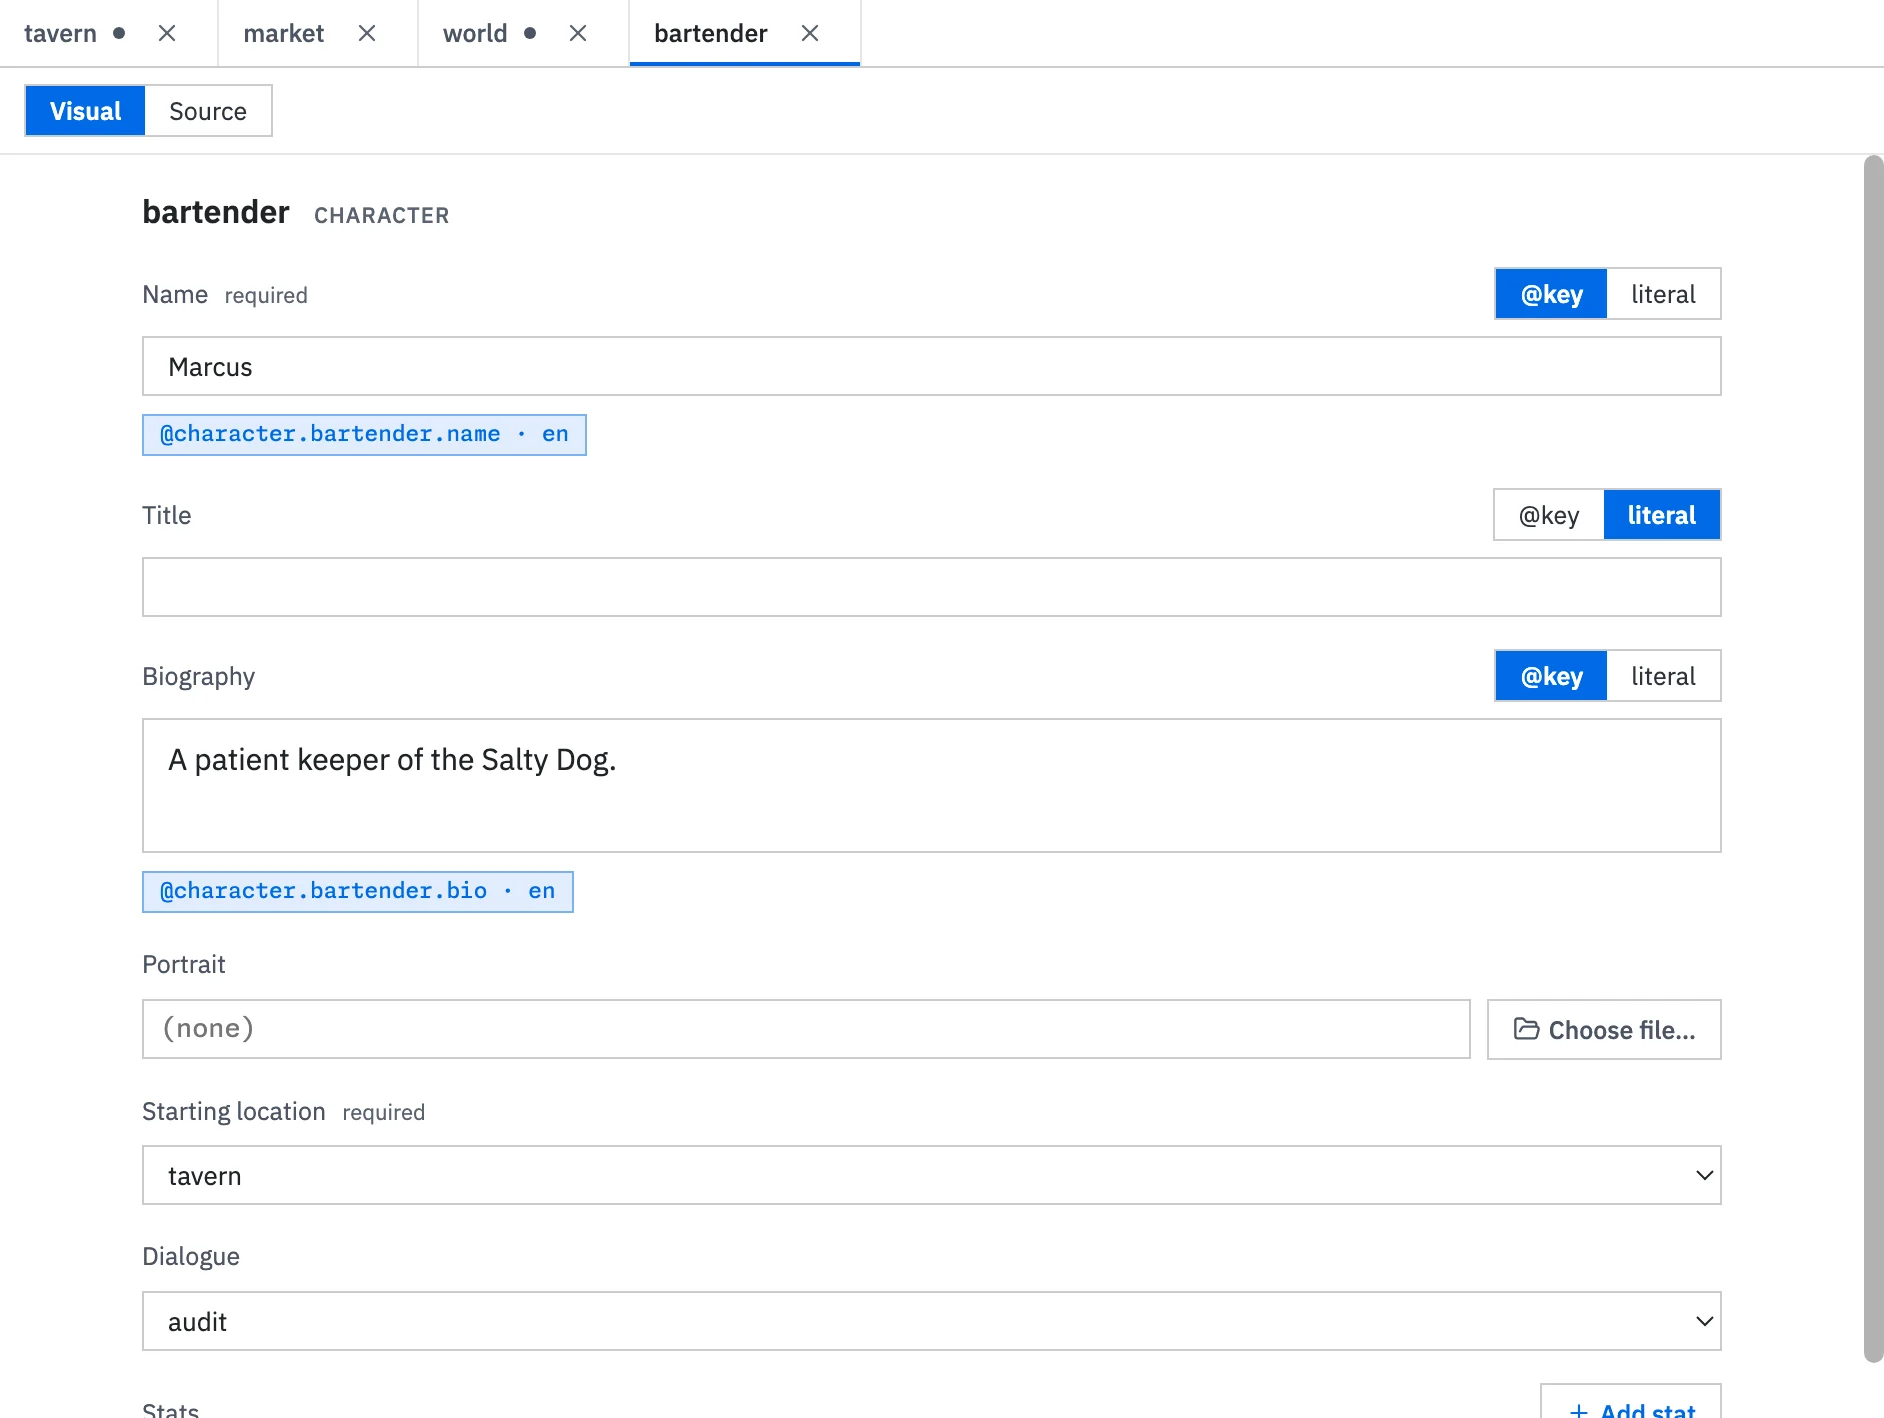
Under Locales, open en to review and edit the English text for each key.
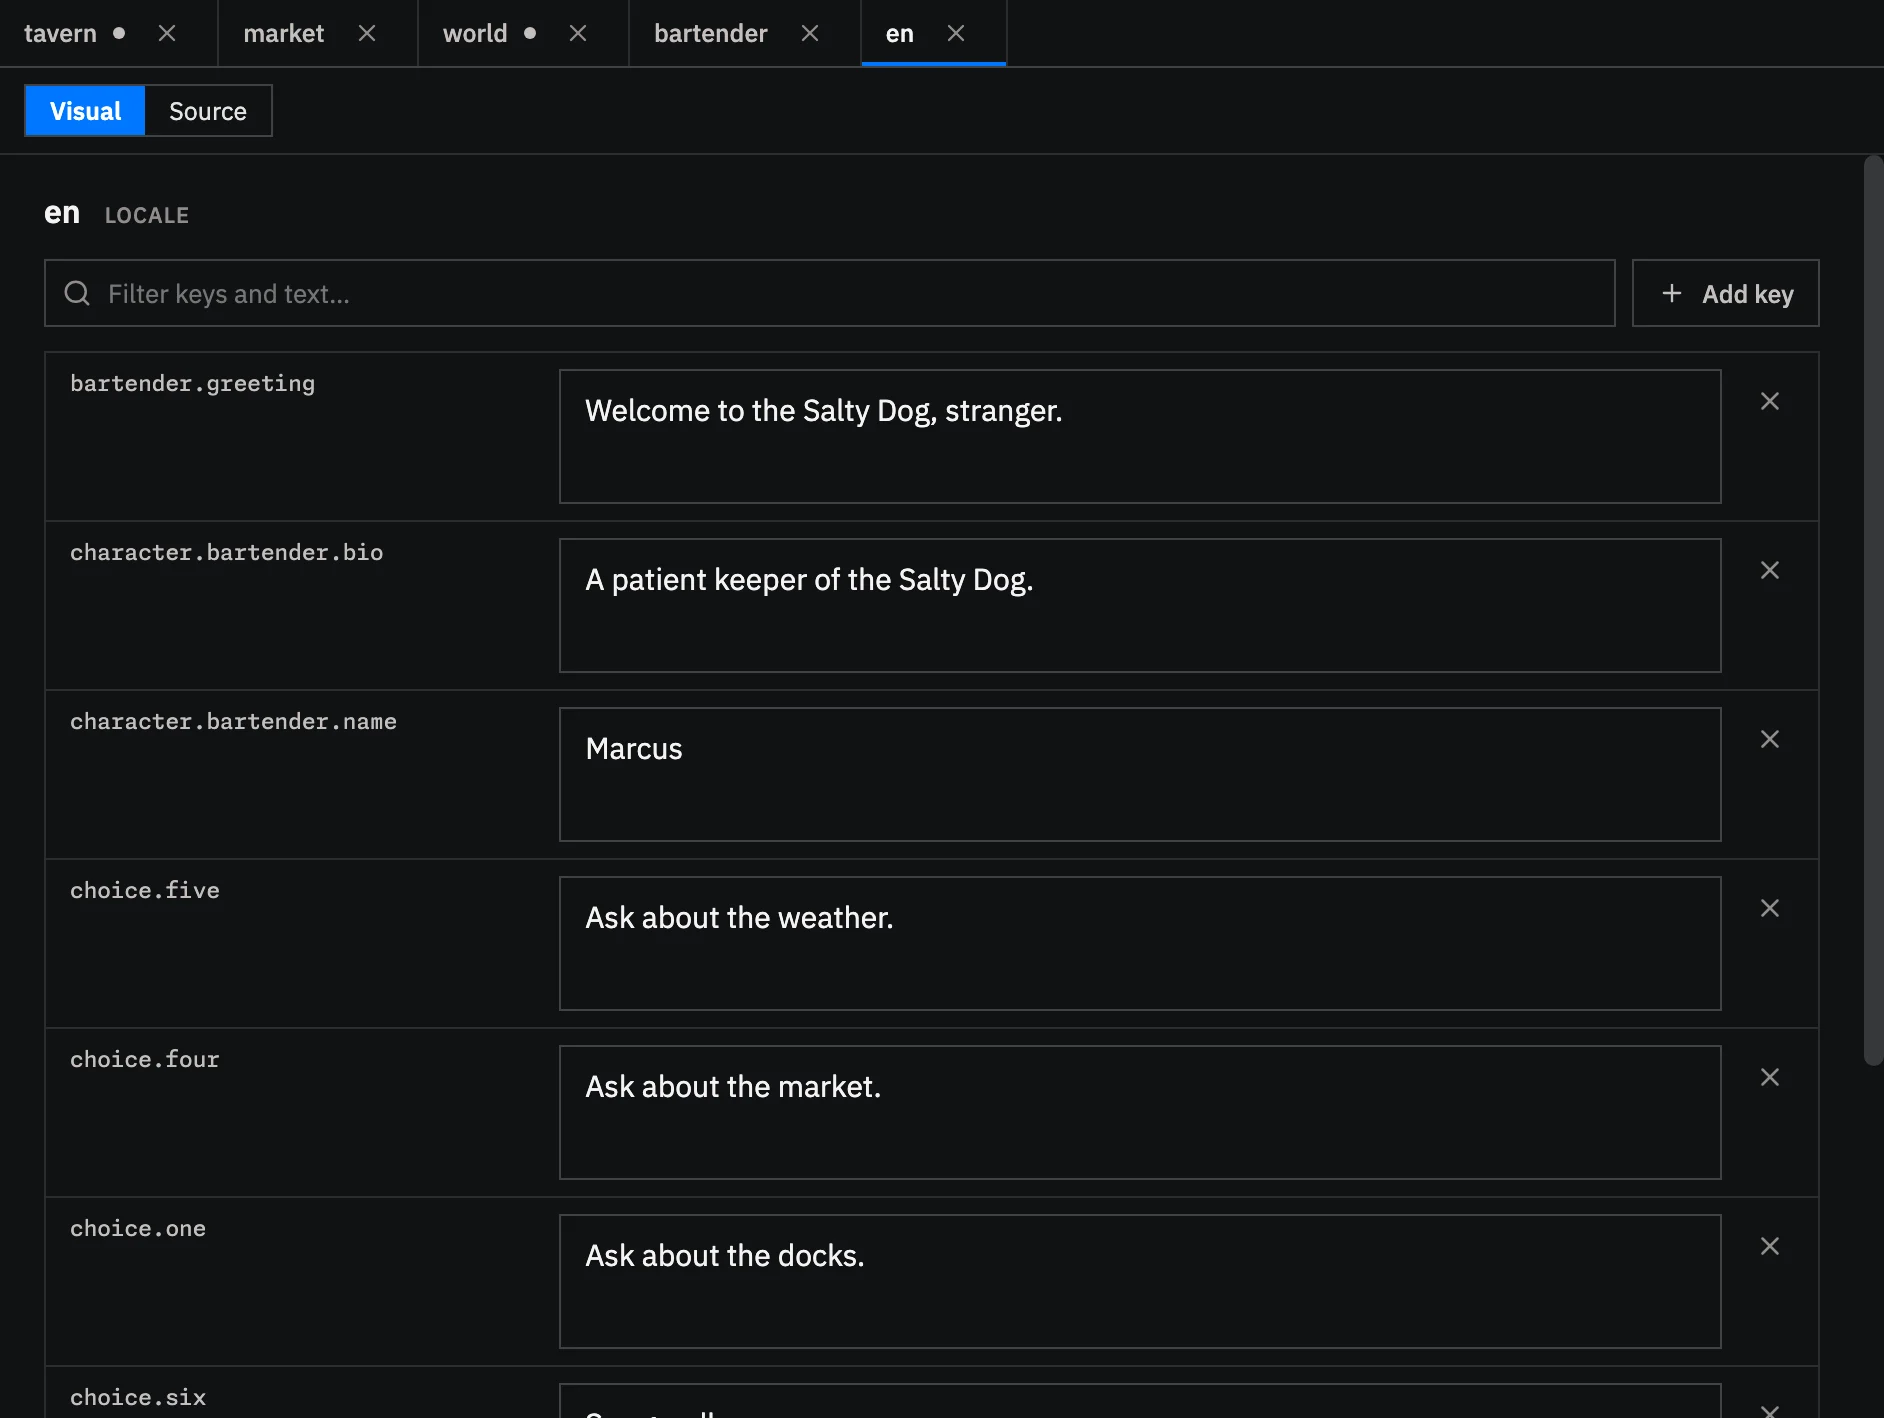
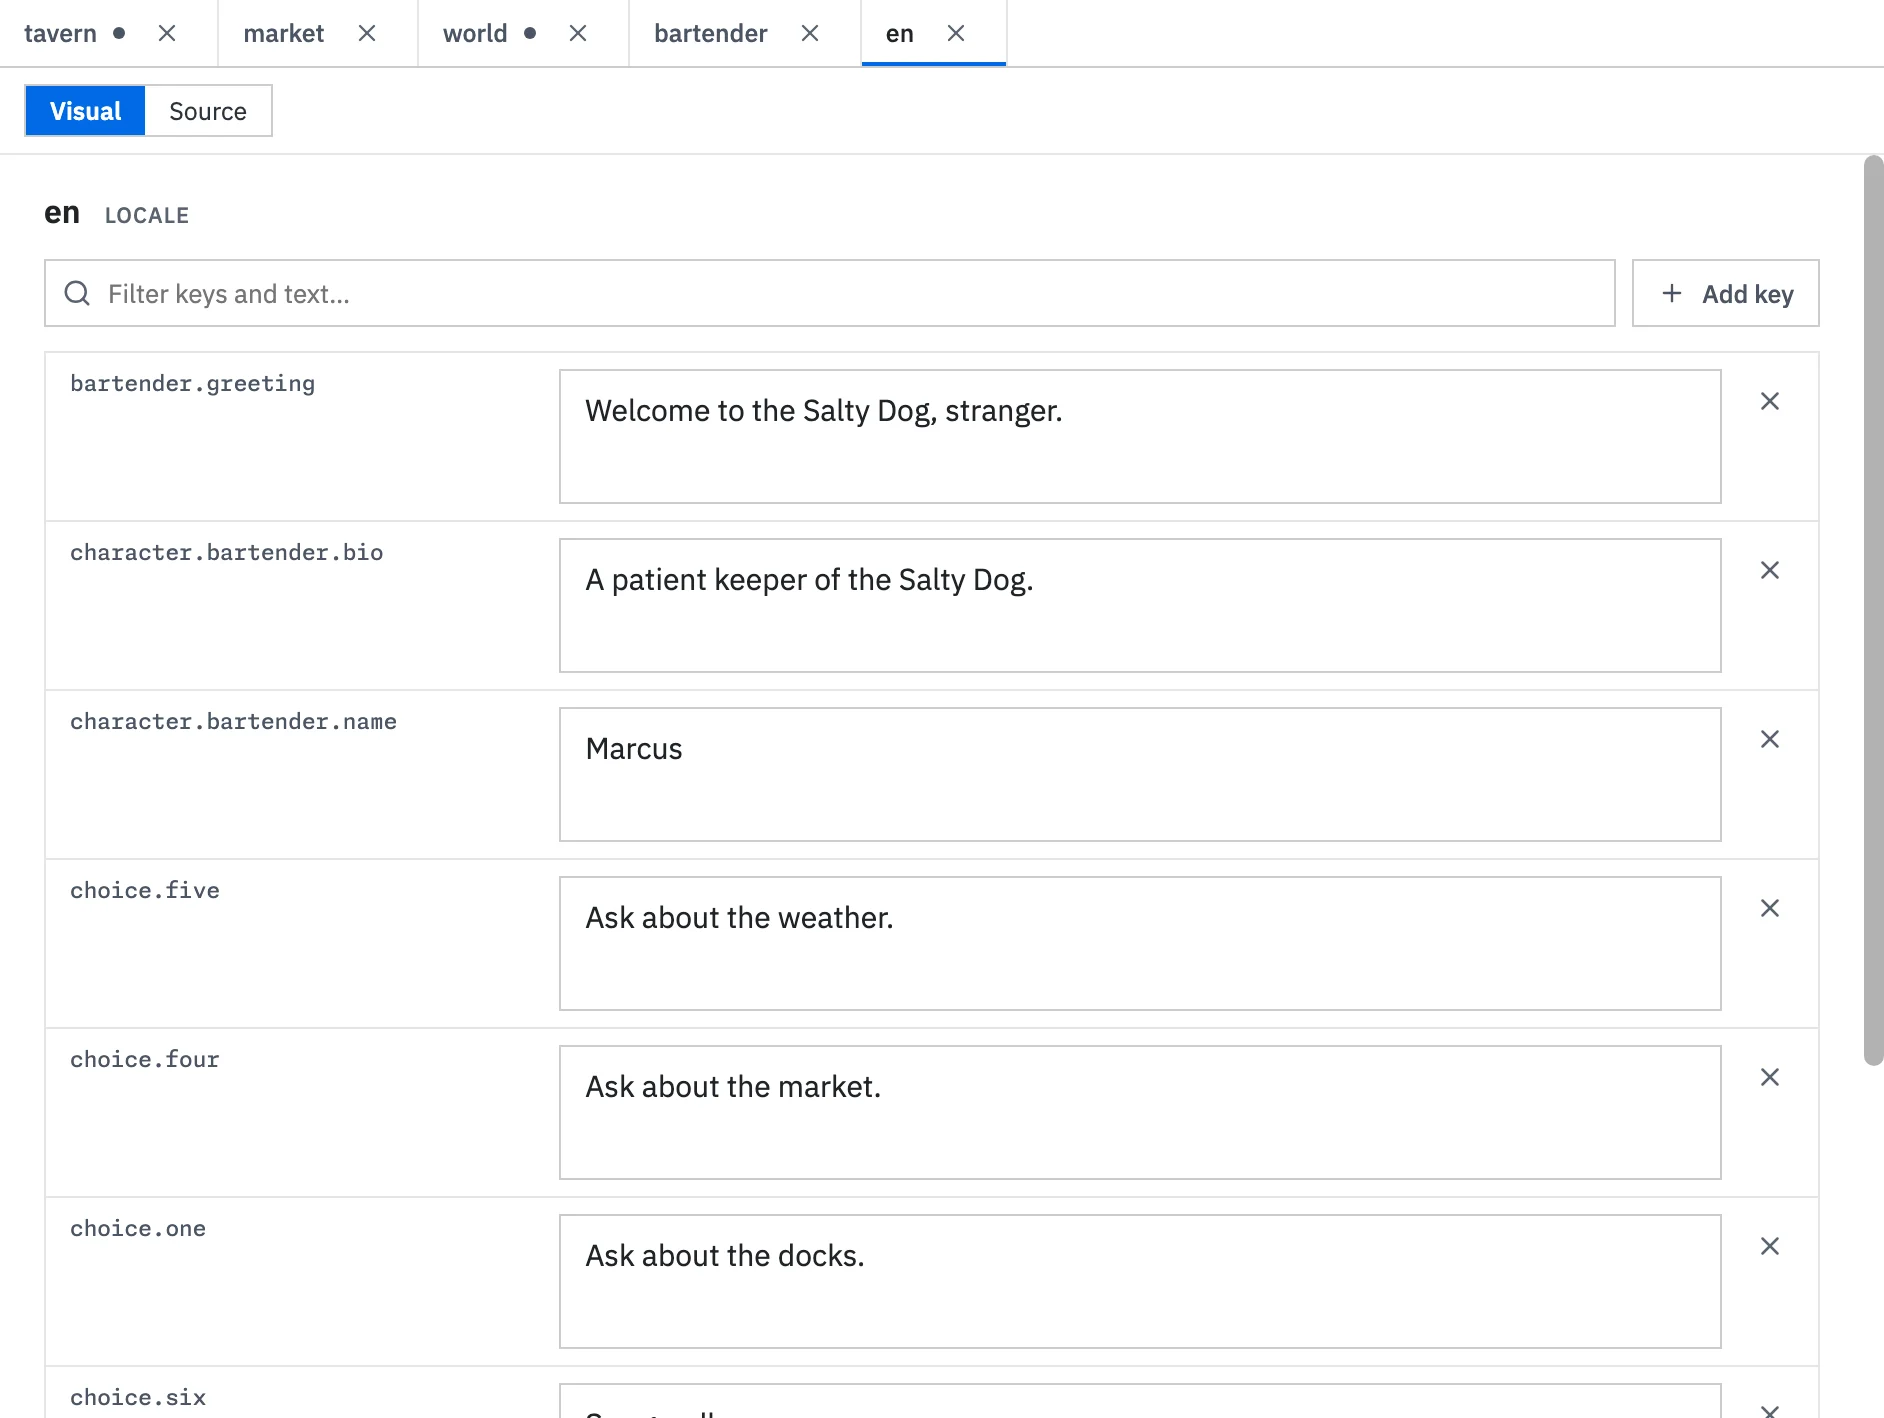
Convert one field at a time. Text written directly in Studio and fields using translation keys can exist in the same project while you work.
Switching a field to literal leaves its locale entries unchanged. To use one of those translations again, select @key and choose its key.
Add another language
Section titled “Add another language”Select the + beside Locales and enter the language code, such as sv, fr, or es. Open the new locale, add the same keys used in English, and enter their translated text.
The language becomes available in the game and in Studio’s playtester.
Check the translation
Section titled “Check the translation”Open Playtest, start the dialogue you want to review, and choose the language from the Locale selector. Read through the branch and check its choices, final lines, and any interface text it uses.
If a key has no translation, the playtester displays the key so you can find the missing entry.
See Localization for variables in translated text, interface strings, and renderer APIs.