Game Shell
GameShell provides the screens and menus around the game, including loading, title, pause, settings, credits, and video playback. New projects created with the default renderer already render it from src/App.tsx, so most of this page is about configuring what you have rather than adding something new. Configuration lives in two places: props passed to the component in src/App.tsx, and the shell: section of content/game.yaml for media the shell should load.
Basic Usage
Section titled “Basic Usage”import { GameShell } from '@doodle-engine/react';import { PROJECT_ID } from '../project';
<GameShell registry={registry} config={config} manifest={manifest} projectId={PROJECT_ID}/>;The registry contains the loaded game definitions, config contains the starting settings from game.yaml, and manifest lists the game’s media files. These values are props, the settings passed to a React component.
This gives you:
- An asset loading screen before any game content renders
- A splash screen (if
shell.splashis configured ingame.yaml) - A title screen with New Game, Continue (if save exists), and Settings
- A credits screen linked from the title screen
- Full gameplay with
GameRenderer - Escape key opens pause menu (Resume, Save, Load, Settings, Quit to Title)
- Automatic save/load through the browser’s local storage (
localStorage) - Video cutscene playback from dialogue
VIDEOeffects
Splash Screen
Section titled “Splash Screen”The splash screen is configured in content/game.yaml:
shell: splash: logo: assets/images/studio-logo.png background: assets/images/splash-bg.jpg sound: assets/audio/sfx/splash.ogg duration: 2000If shell.splash is not defined, the splash screen is skipped and the game goes directly to the title screen. Players can click to skip the splash at any time.
Title Screen
Section titled “Title Screen”The title screen uses the top-level title and subtitle fields from content/game.yaml.
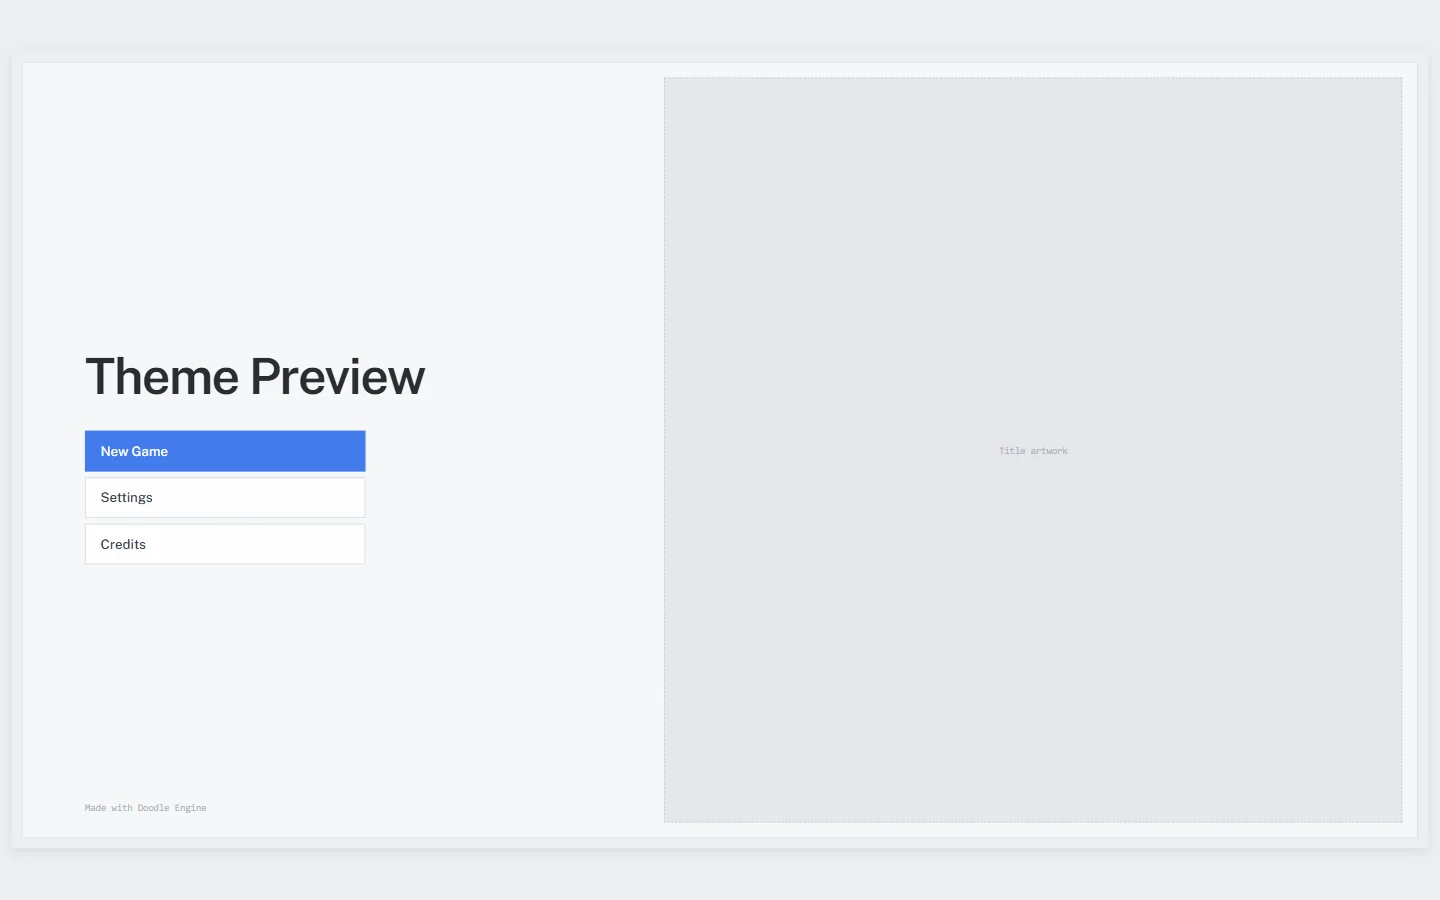
The title screen shows:
- The logo image (if
shell.title.logois configured ingame.yaml) - Game title and subtitle
- New Game button
- Continue button (when a save exists in browser storage)
- Settings button
- Credits button
Configure title screen music in content/game.yaml:
shell: title: logo: assets/images/logo.png music: assets/audio/music/main_theme.oggThe music plays on loop while the title screen is visible and stops when the player starts or continues a game.
Credits Screen
Section titled “Credits Screen”The title screen includes a Credits button. By default, the credits screen shows the game title and “Made with Doodle Engine.” Pass the credits prop to provide the game’s own credits:
<GameShell registry={registry} config={config} manifest={manifest} projectId={PROJECT_ID} credits={ <> <p>Written and designed by Your Name</p> <p>Music by Composer Name</p> </> }/>Pause Menu
Section titled “Pause Menu”During gameplay, click the Menu button or press Escape to open the pause menu with:
- Resume: close the menu
- Save: save to browser storage
- Load: load from browser storage
- Settings: open settings panel
- Quit to Title: return to title screen
Settings Panel
Section titled “Settings Panel”The settings panel provides:
- Volume sliders (Master, Music, Sound Effects, Voice, UI)
- Language selection (if
availableLocalesis provided)
<GameShell registry={registry} config={config} manifest={manifest} projectId={PROJECT_ID} availableLocales={[ { code: 'en', label: 'English' }, { code: 'es', label: 'Español' }, { code: 'fr', label: 'Français' }, ]}/>UI Sounds
Section titled “UI Sounds”GameShell plays sounds for menu interactions (clicks, open/close). Configure or disable them with the uiSounds prop:
// Custom UI sounds<GameShell  registry={registry}  config={config}  manifest={manifest}  projectId={PROJECT_ID}  uiSounds={{    basePath: 'assets/audio/ui',    volume: 0.5,    sounds: {      click: 'click.ogg',      menuOpen: 'menu_open.ogg',      menuClose: 'menu_close.ogg',    },  }}/>
// Disable UI sounds<GameShell  registry={registry}  config={config}  manifest={manifest}  projectId={PROJECT_ID}  uiSounds={false}/>
To preload UI sounds before the title screen appears, list them in content/game.yaml under shell.uiSounds:
shell: uiSounds: click: assets/audio/ui/click.ogg menuOpen: assets/audio/ui/menu_open.ogg menuClose: assets/audio/ui/menu_close.oggshell.uiSounds loads these files before the title screen and provides the default sound for each action. Pass the uiSounds prop to change the mapping, or uiSounds={false} to turn off UI sounds.
Video Cutscenes
Section titled “Video Cutscenes”GameShell automatically plays fullscreen video cutscenes when a dialogue uses the VIDEO effect. Video files resolve from the engine’s normal video asset path.
See Video & Cutscenes for full details on adding videos to your game.
Save/Load
Section titled “Save/Load”GameShell uses the project’s generated ID to keep its saves separate from other Doodle Engine games:
<GameShell registry={registry} config={config} manifest={manifest} projectId={PROJECT_ID}/>Studio and the CLI’s create command store this ID in src/project.ts. Keep it for every release of the same game. A missing, changed, or malformed ID stops save access instead of falling back to shared storage.
Game Audio
Section titled “Game Audio”Pass audio options to configure the game audio manager:
<GameShell registry={registry} config={config} manifest={manifest} projectId={PROJECT_ID} audioOptions={{ masterVolume: 1.0, musicVolume: 0.7, soundVolume: 0.8, voiceVolume: 1.0, crossfadeDuration: 1000, }}/>These are the default values. Volume settings are saved to browser storage under 'doodle-engine-audio' and survive page reloads. The player’s last-used settings take precedence over the defaults.
Styling
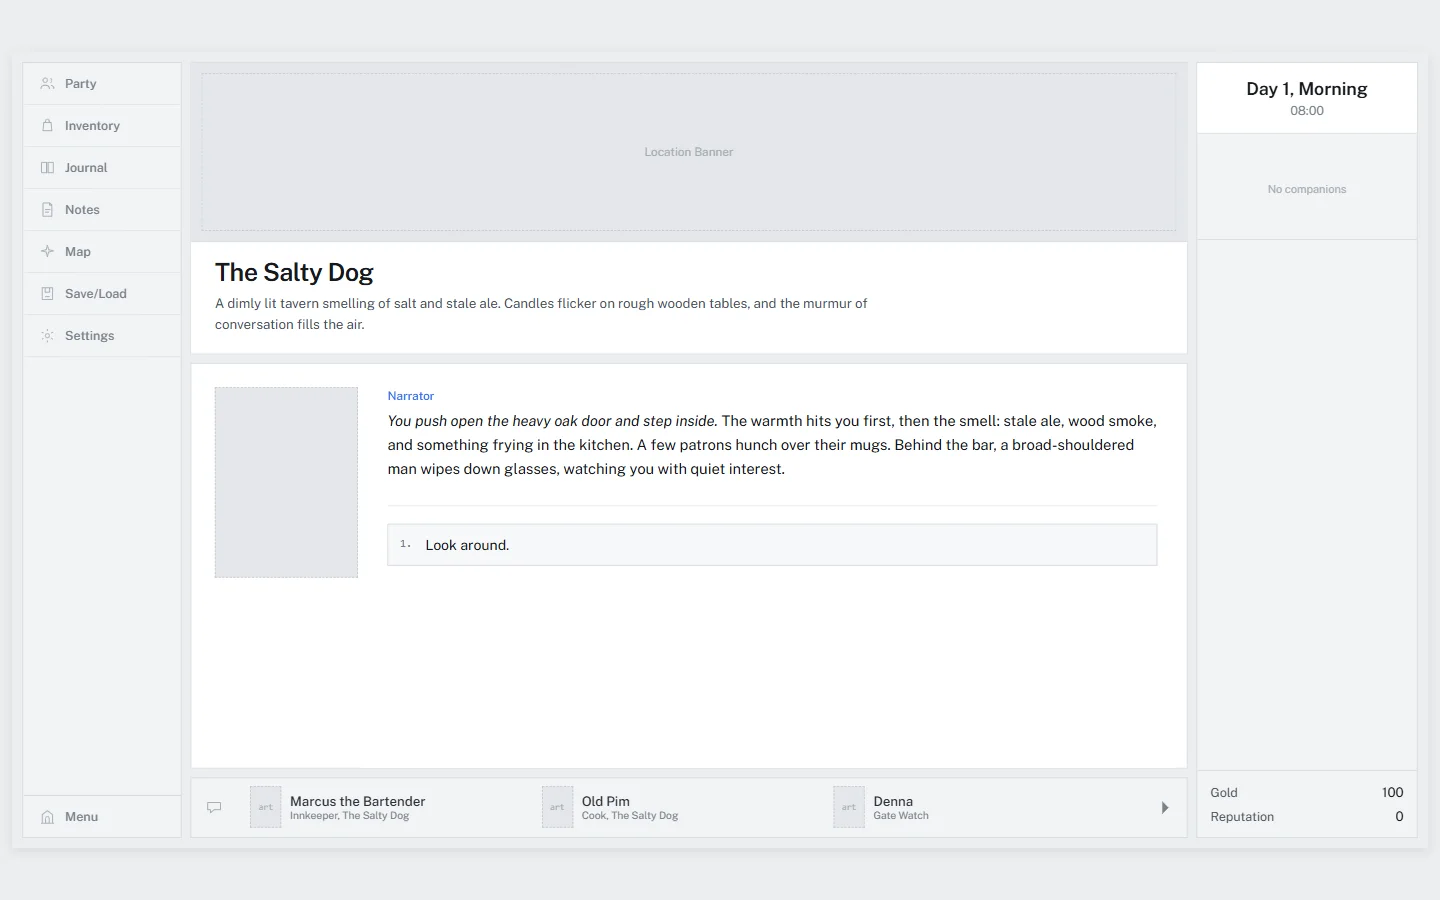
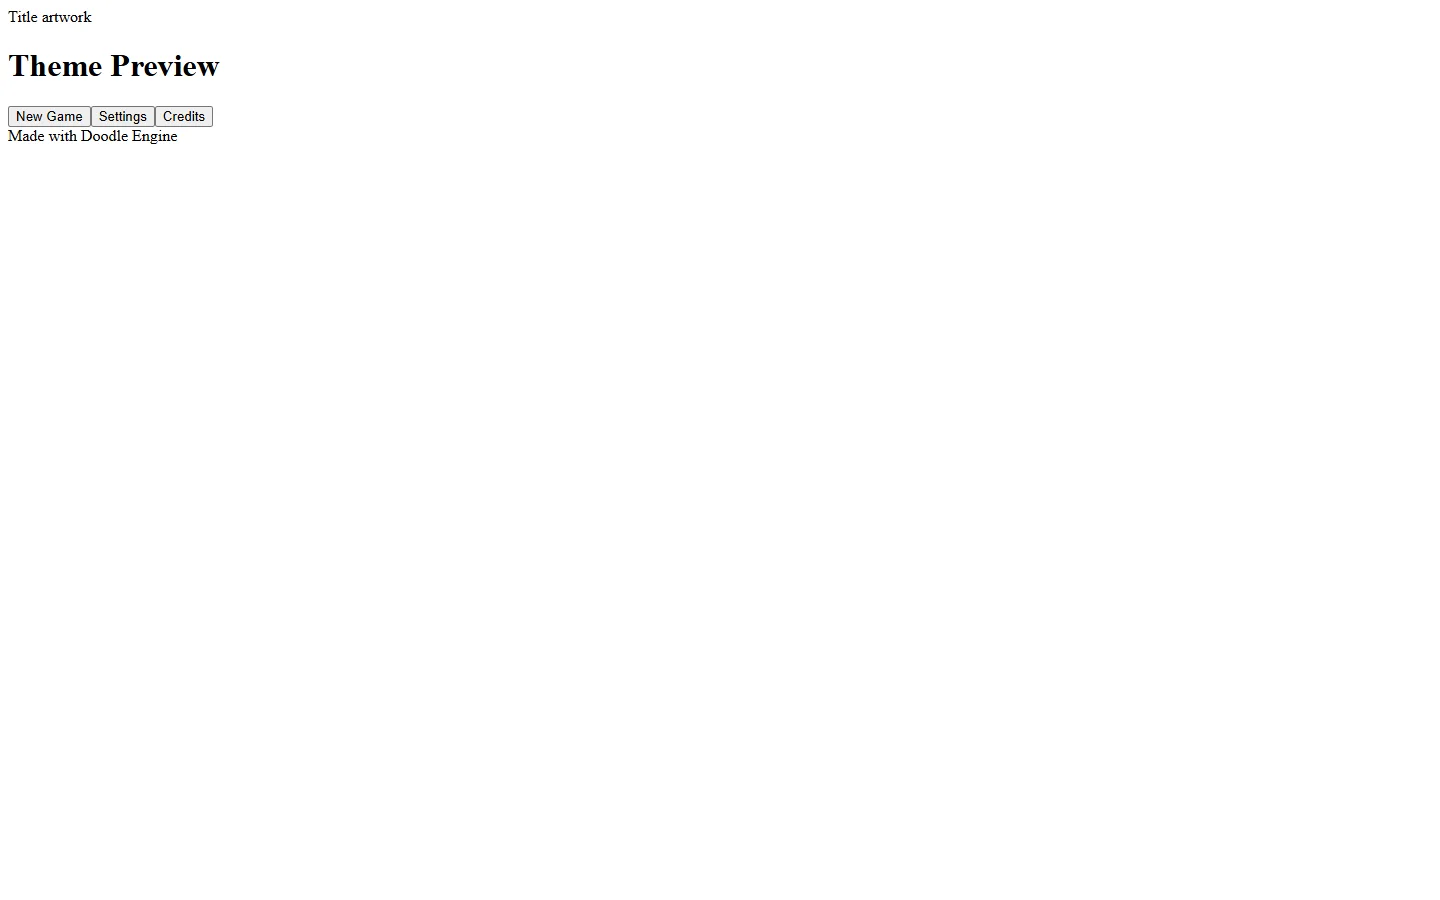
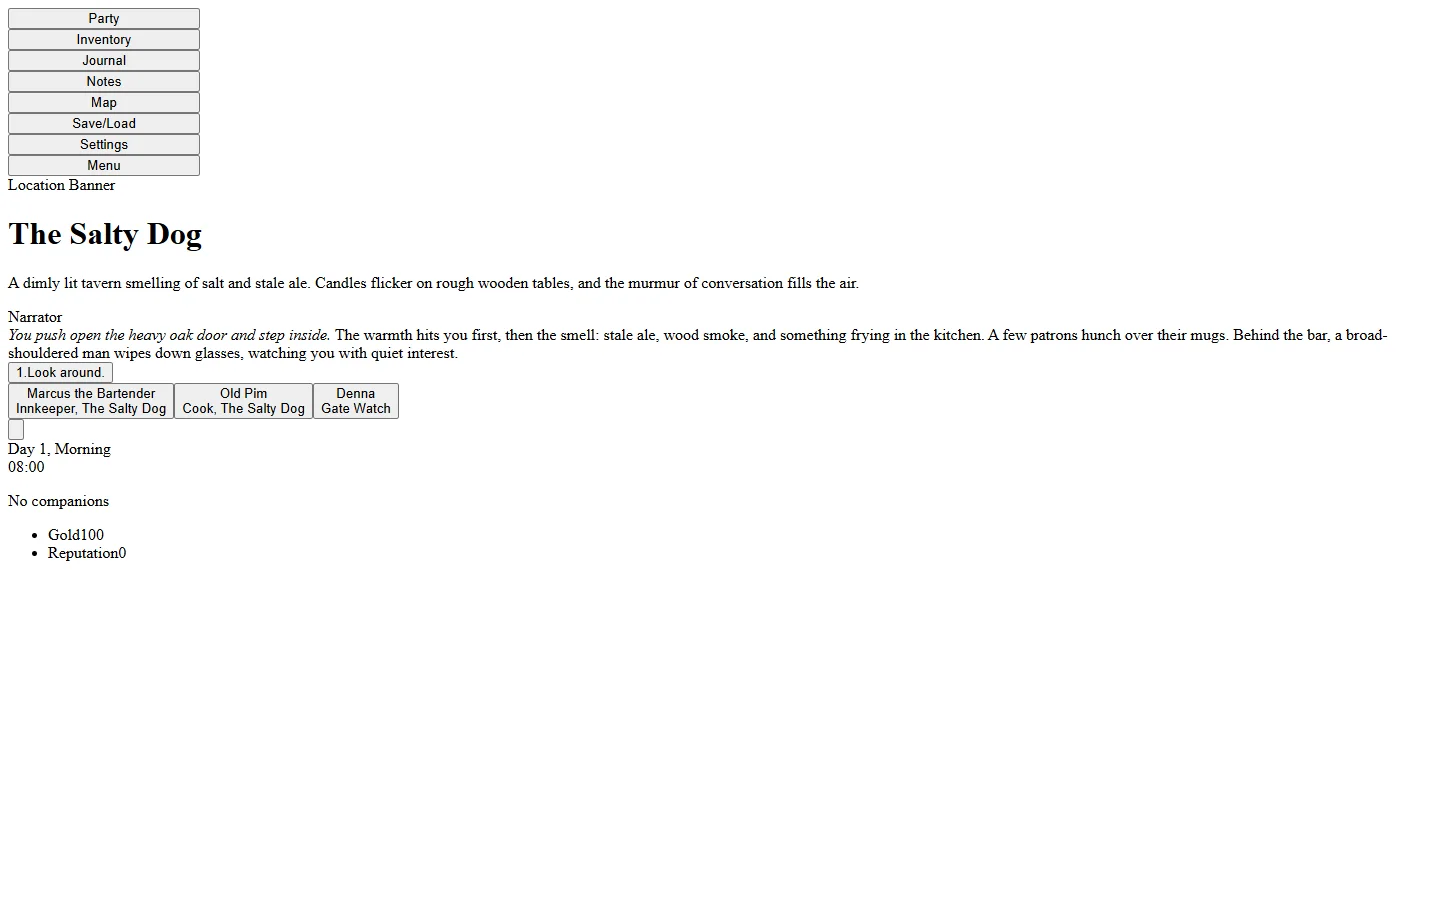
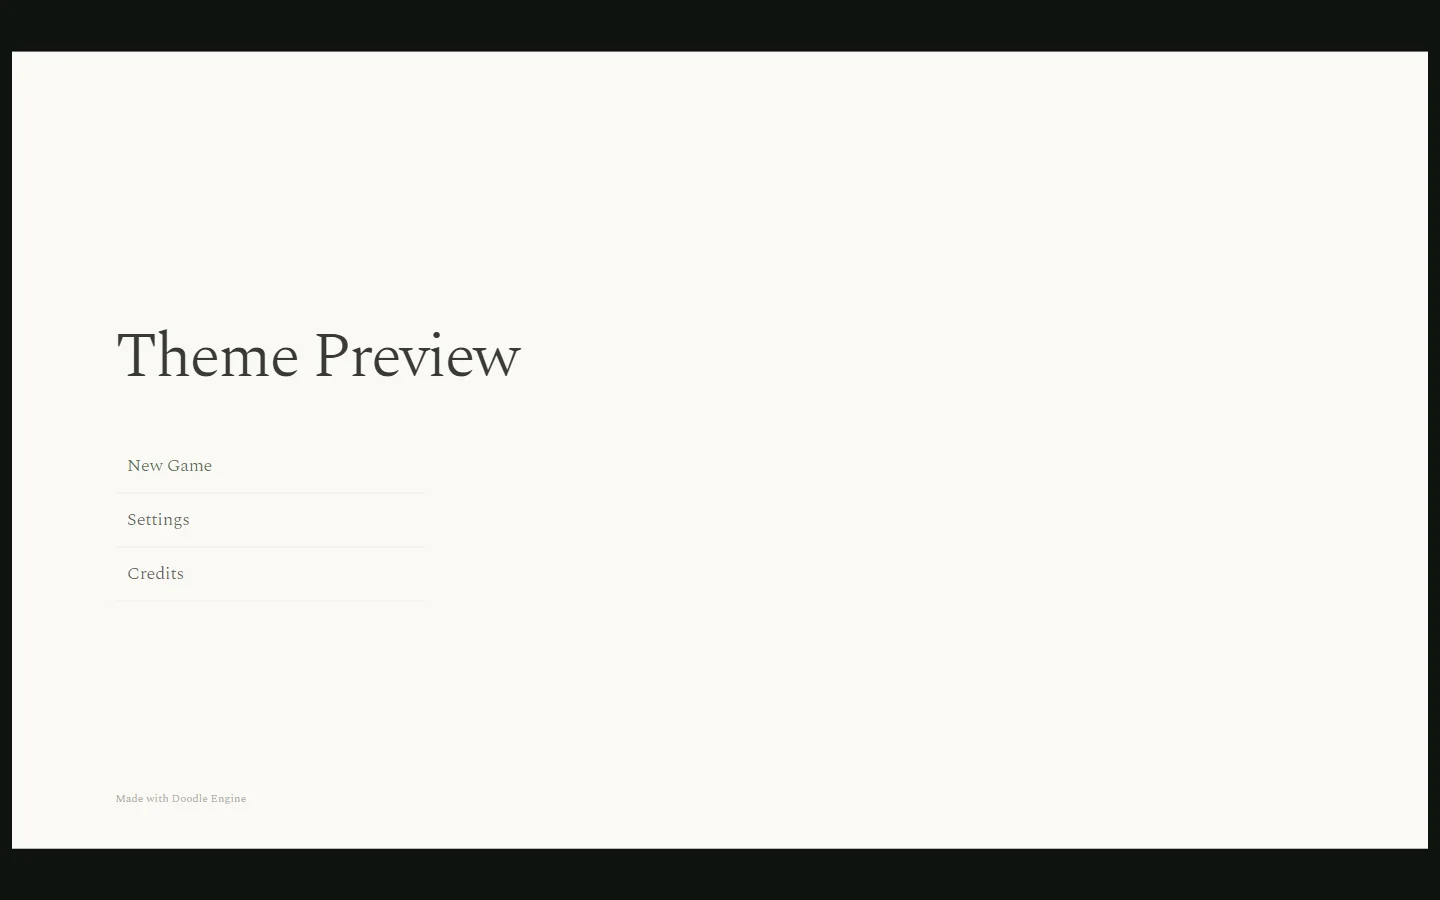
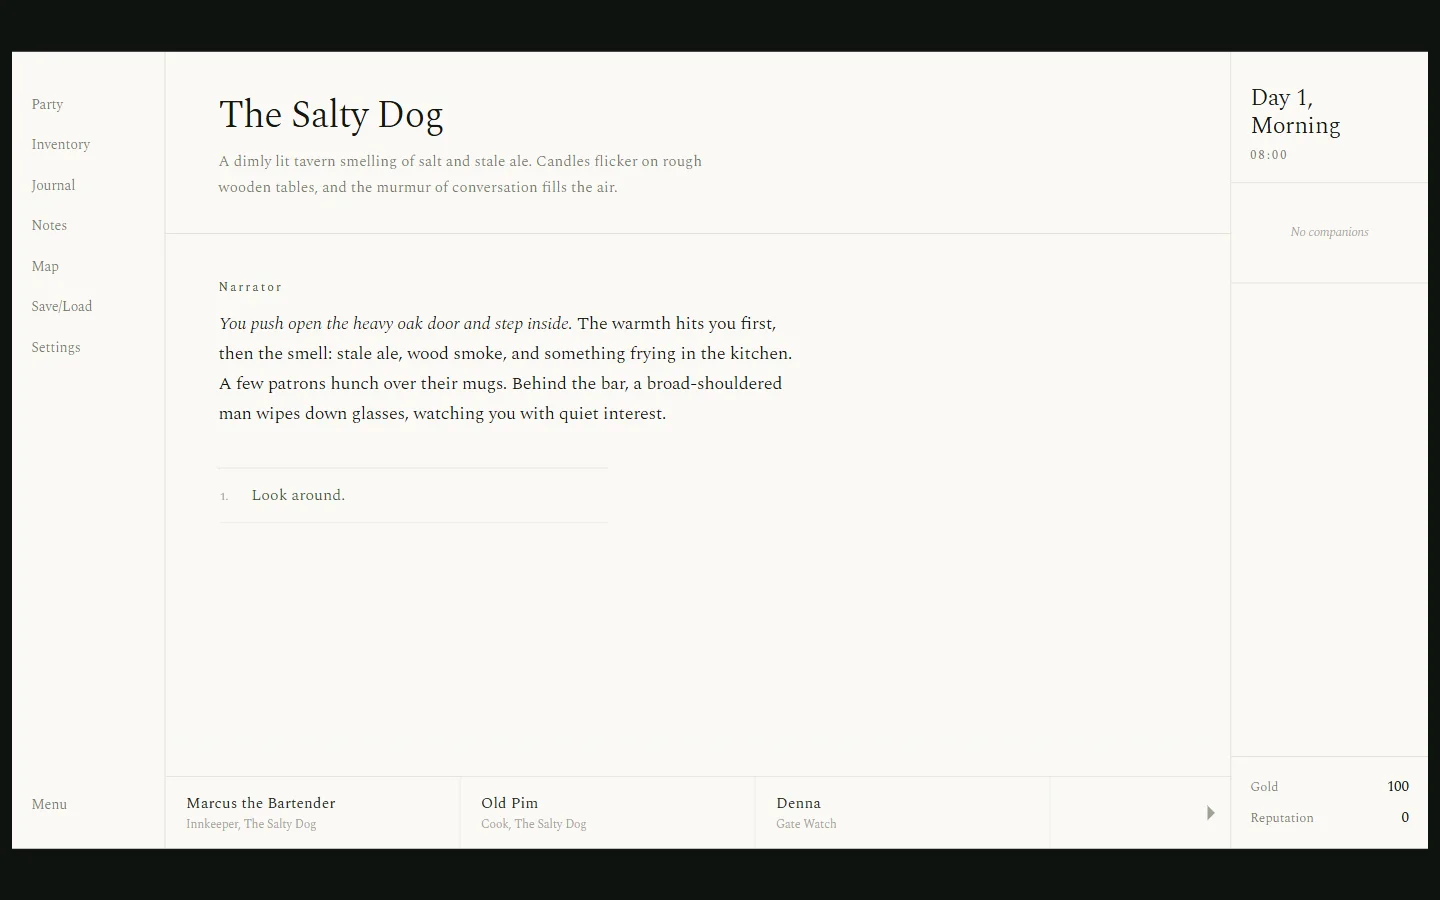
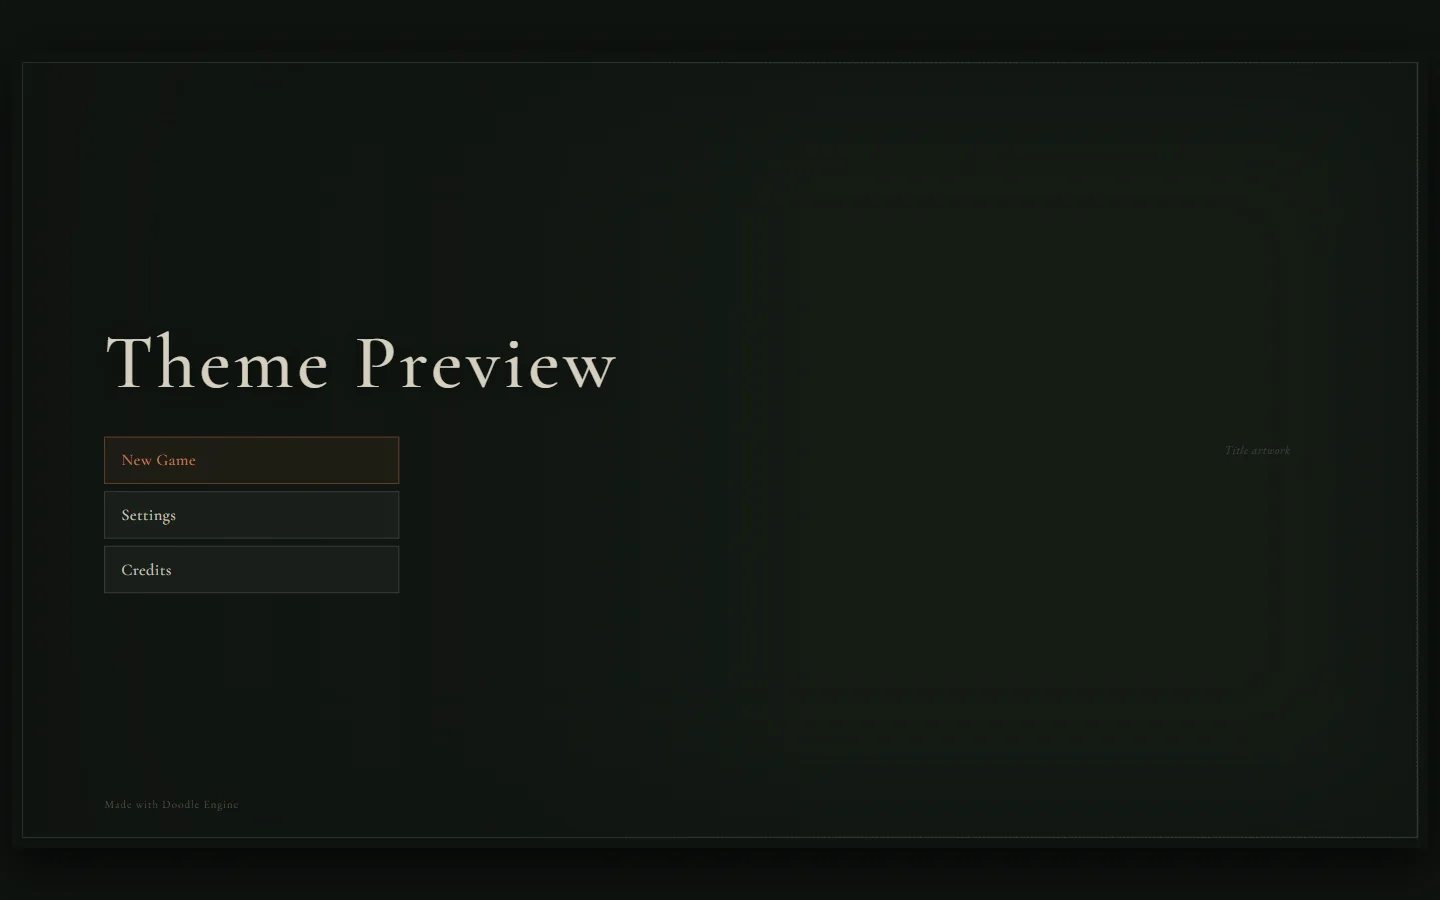
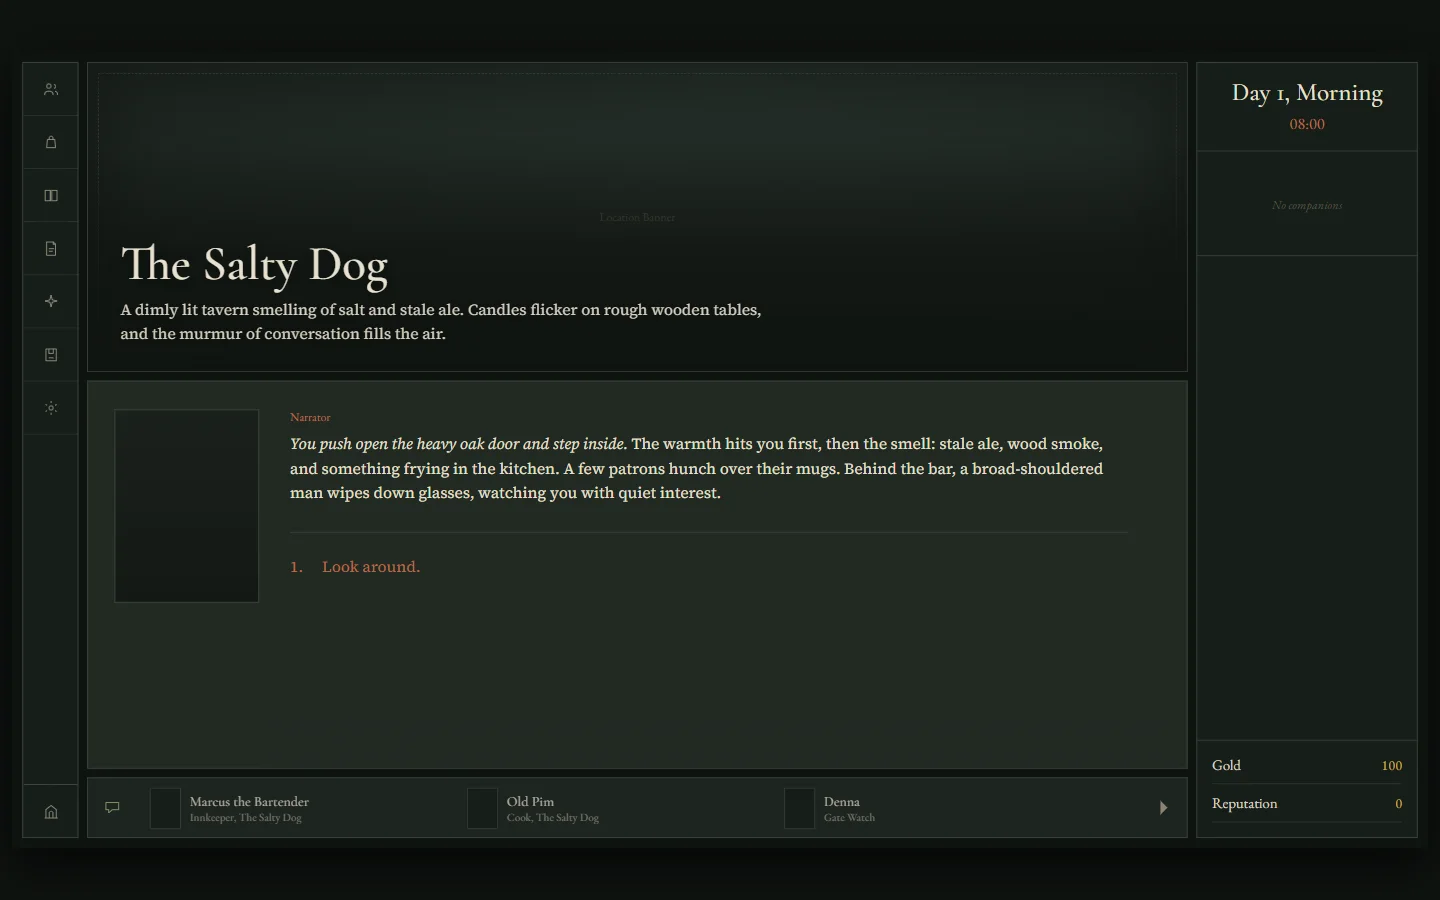
Section titled “Styling”When you create a project in Studio or from the command line, choose one of four styles:
- Starter RPG (
starter-rpg): a complete theme with the main layout, bottom bar, and game panels - Minimal (
minimal): only the layout needed for menus and panels, leaving the visual design to your project - Prose (
prose): a reading-focused theme for narrative and choice games - Fable (
fable): a dark folktale design
Each example below shows the same title screen and dialogue scene so you can compare the themes.
Starter RPG
Minimal
Prose
Fable
You can switch at any time with:
npm run theme -- proseThe command replaces src/renderer-theme.css, so put your colors, spacing, and
other changes in src/renderer-overrides.css. Your changes stay in place when
you switch themes. src/index.css loads both files.
The components use class names that describe each part of the interface, such
as .game-renderer, .game-layout, .game-content, .game-status,
.game-menu, .dialogue-box, and .choice-button.
To change the theme colors, add custom properties to
src/renderer-overrides.css:
:root { --doodle-accent: #b87333; --doodle-bg-primary: #0d1117; --doodle-text-primary: #f0e6d3;}Compose Individual Components
Section titled “Compose Individual Components”Use the individual components directly when you want to assemble your own shell:
import { GameProvider, GameRenderer, SplashScreen, TitleScreen, PauseMenu, SettingsPanel, VideoPlayer, useGame, useAudioManager, useUISounds,} from '@doodle-engine/react';See Custom Renderer for building a custom UI, or the React Components Reference for individual component props.