Dialogue Editing in Studio
The dialogue editor provides two ways to write a conversation: edit one node at a time in Visual, or work directly with the dialogue text in Source. Graph provides a read-only map of the paths between nodes.
Create a dialogue
Section titled “Create a dialogue”Select the + beside Dialogues, or select New content… and choose Dialogue. Enter an ID such as bartender_greeting. IDs may contain letters, numbers, and underscores. Lowercase words separated by underscores are recommended for consistency, but uppercase letters are also accepted. Studio creates content/dialogues/bartender_greeting.dlg.
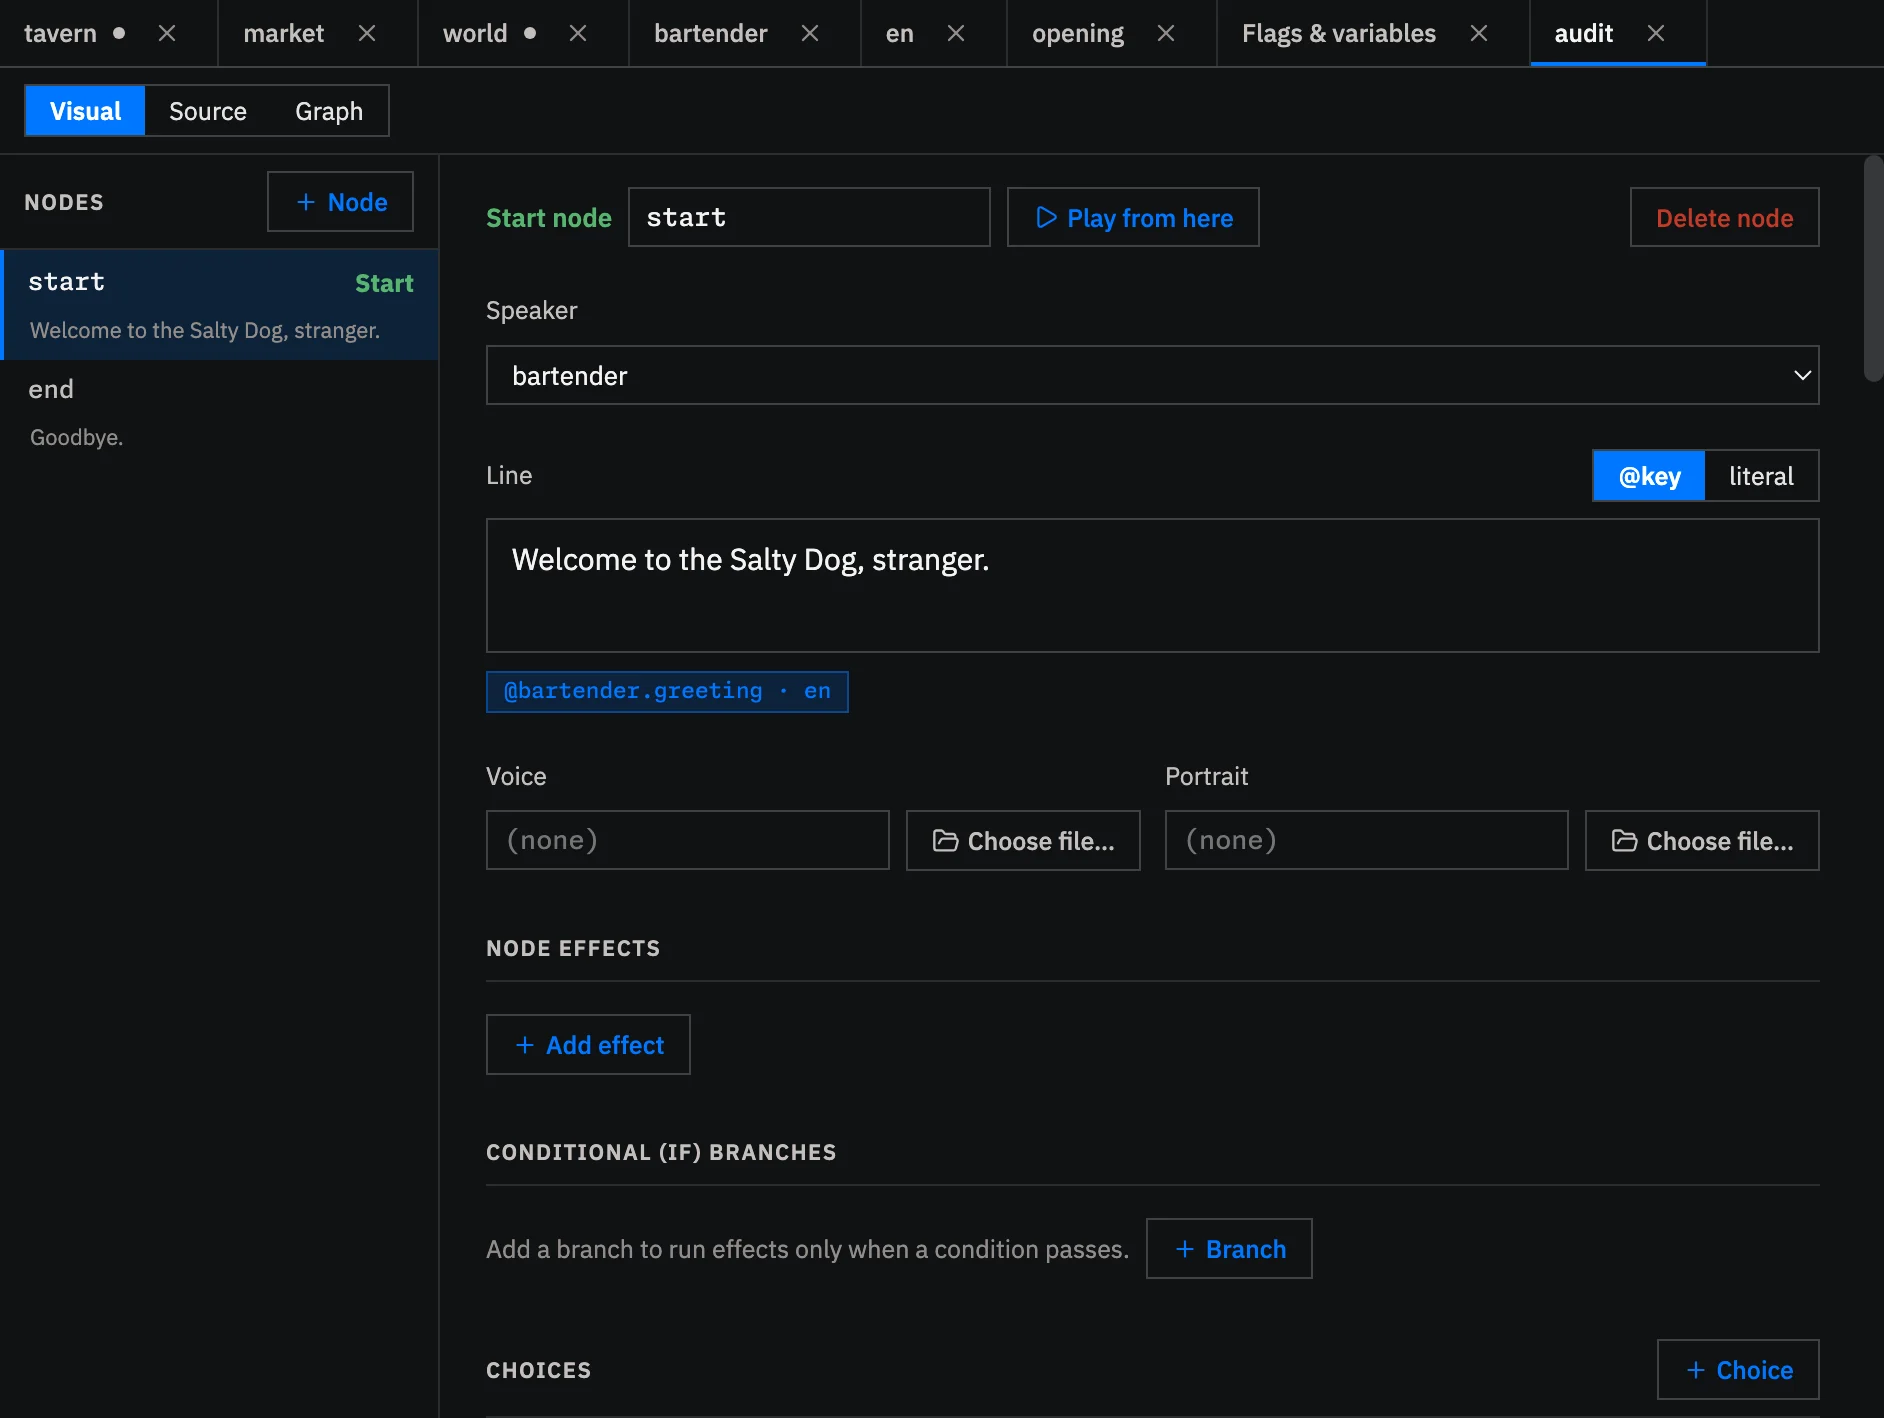
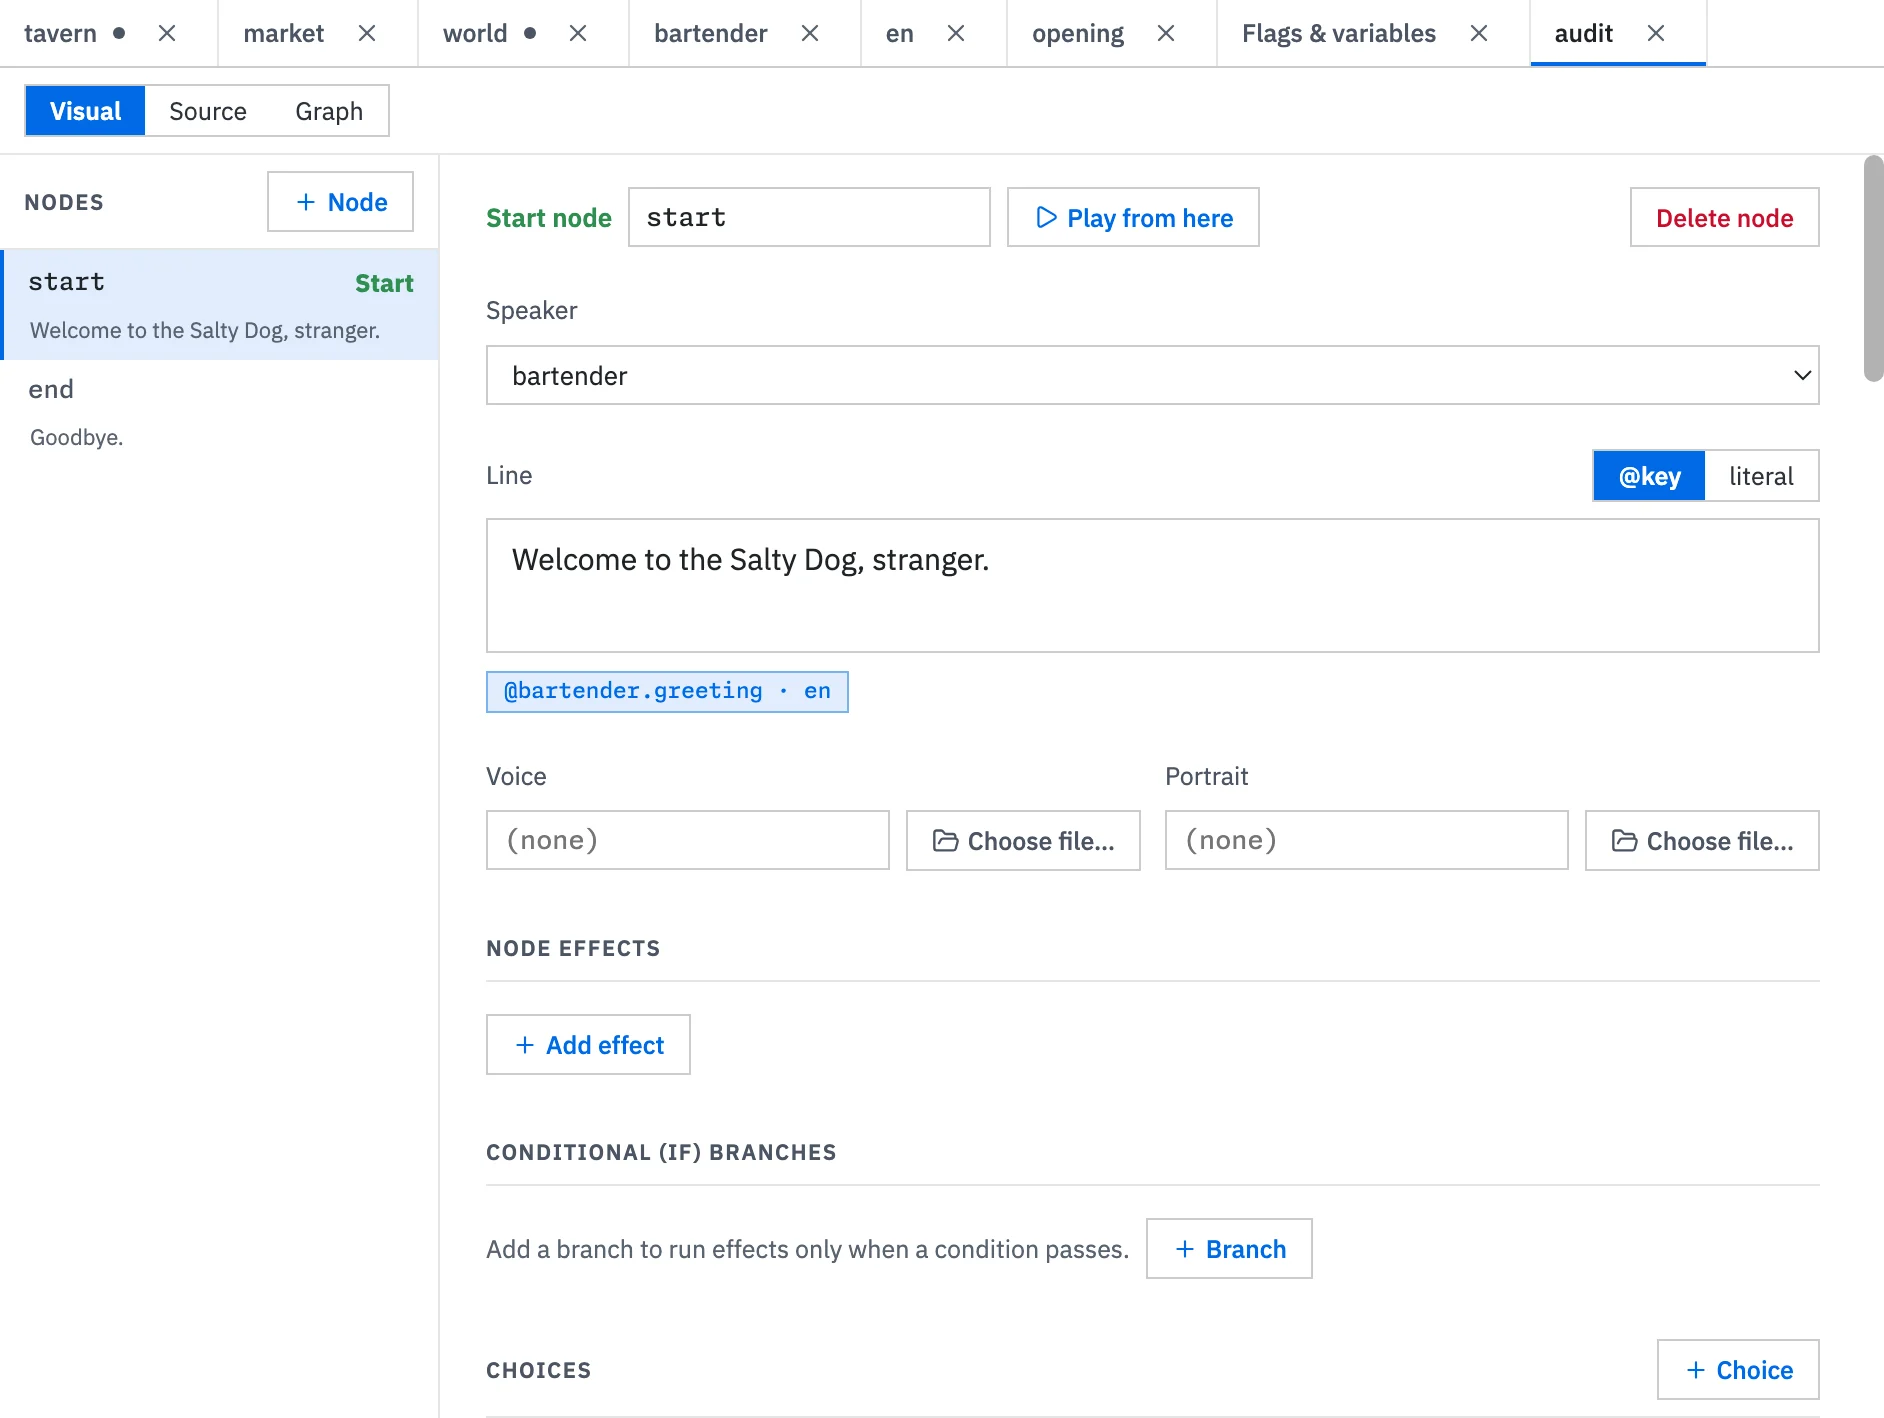
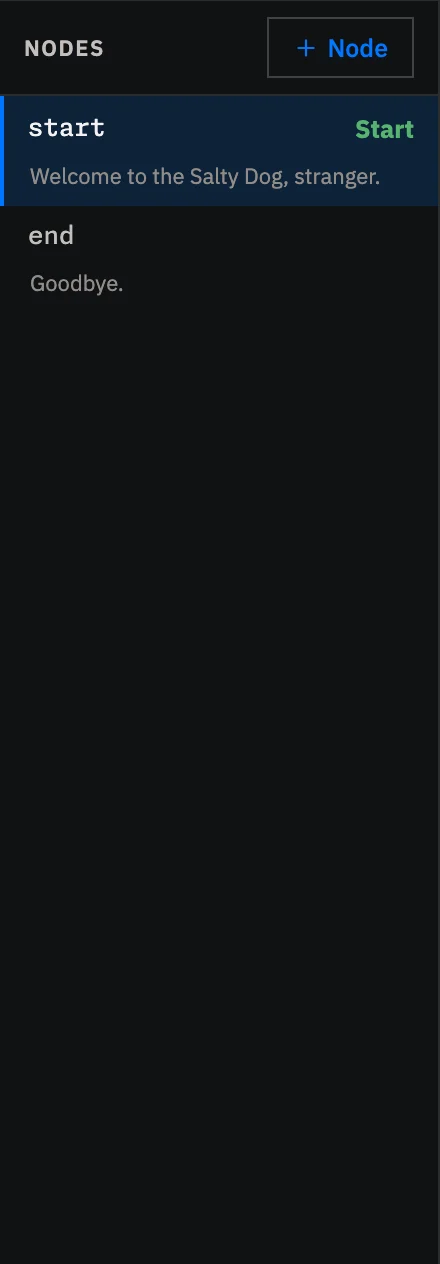
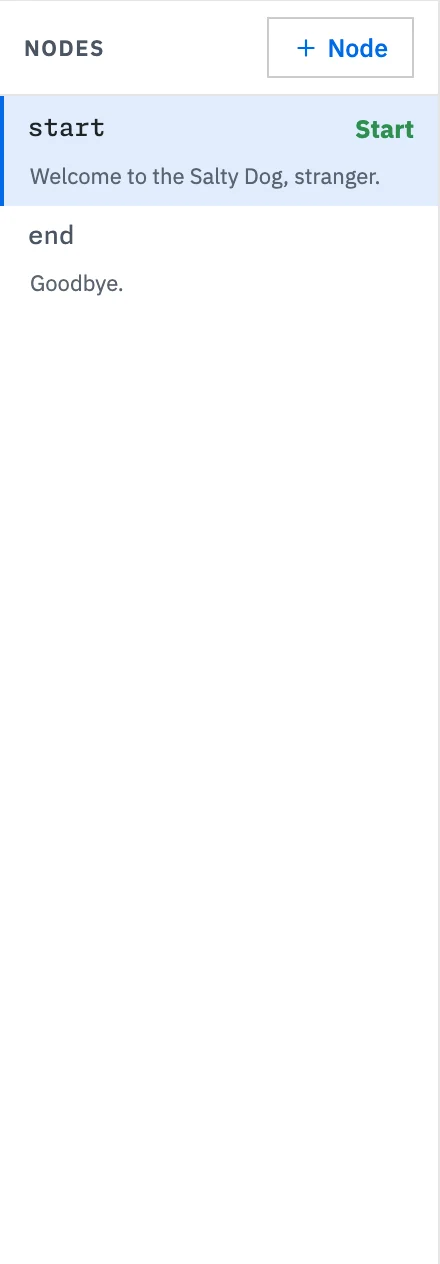
The dialogue opens with a starting node. A node is one moment in the conversation: a line, the choices following it, and any state changes that happen there.
Edit a node
Section titled “Edit a node”Open bartender_greeting and select its start node. Begin by changing the speaker’s line. Type it exactly as the player should read it.
Each node can contain:
- Node ID
- The character speaking, or Narrator for narration
- The line shown to the player
- Voice asset
- Optional portrait override for an expression or alternate image used on this node
- Choices
- Conditions and effects
- The next node or dialogue ending
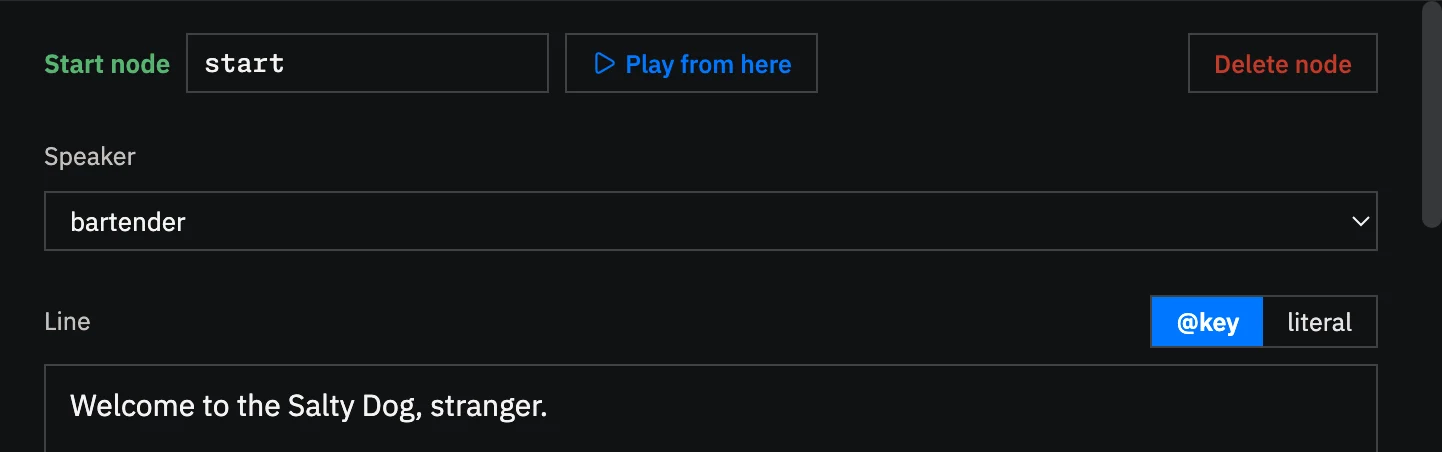
Press Enter in the Line field to add paragraph breaks without creating another node. The paragraphs remain one dialogue entry, followed by the same choices or Continue action. Studio adds the required quotes in Source mode and removes them again when the entry returns to one line.
Delete a node
Section titled “Delete a node”Select Delete node. Studio shows the routes that point to the node before you confirm.


Add choices
Section titled “Add choices”Each choice has the words shown to the player and the place the conversation goes next. Choices appear in the listed order, and the up and down controls rearrange them. Point a choice at another node, or choose end dialogue when it should close the conversation.
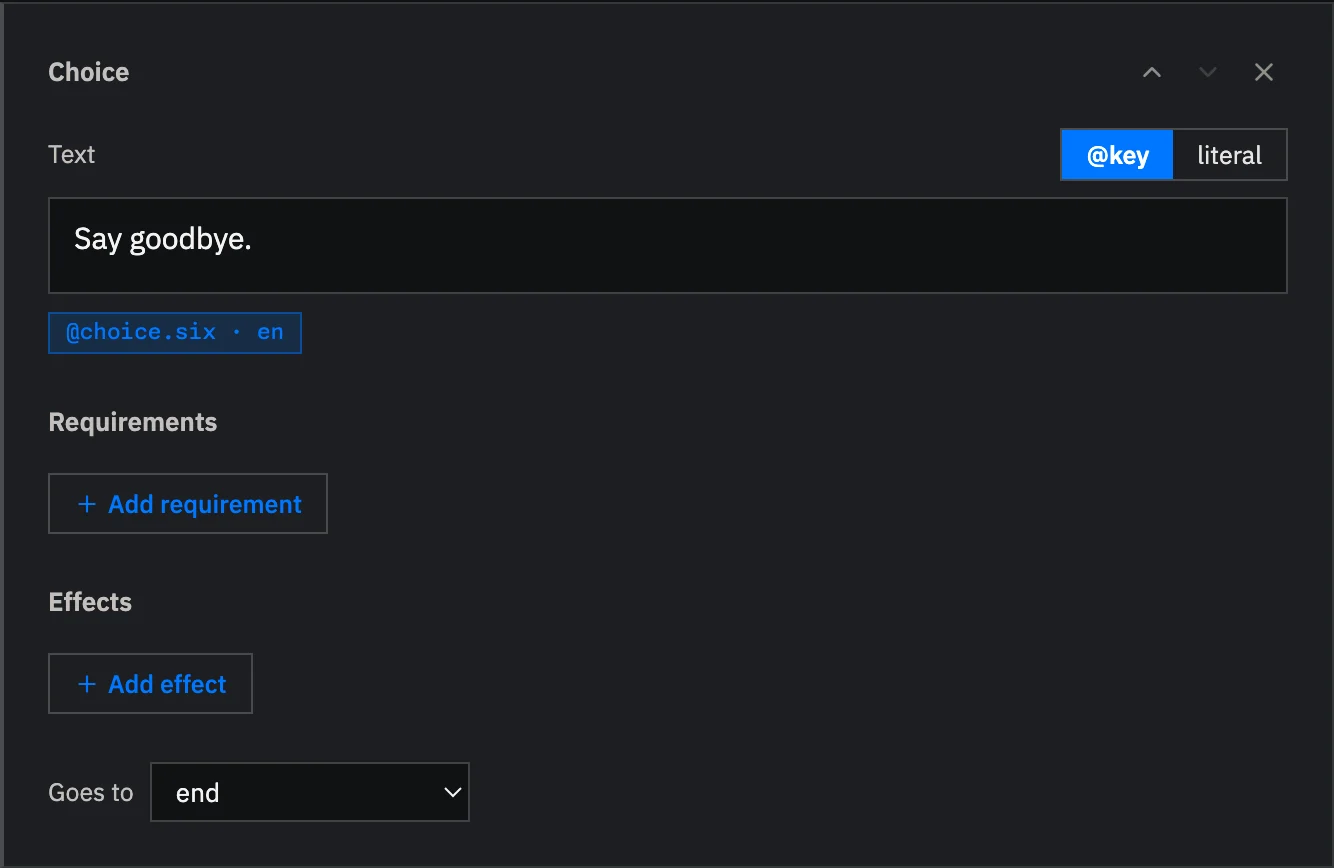
When a node has a final line and no choices, the player sees End Dialogue instead of Continue.
Follow the conversation in Graph
Section titled “Follow the conversation in Graph”Select Graph to see the whole conversation as connected cards. Graph is for following paths and opening nodes. Visual and Source are where you write and change the conversation. Each card shows the node ID, a preview of its line, and the choices or routes leading onward. The starting node has a start label, and a node where the conversation finishes has an end label.
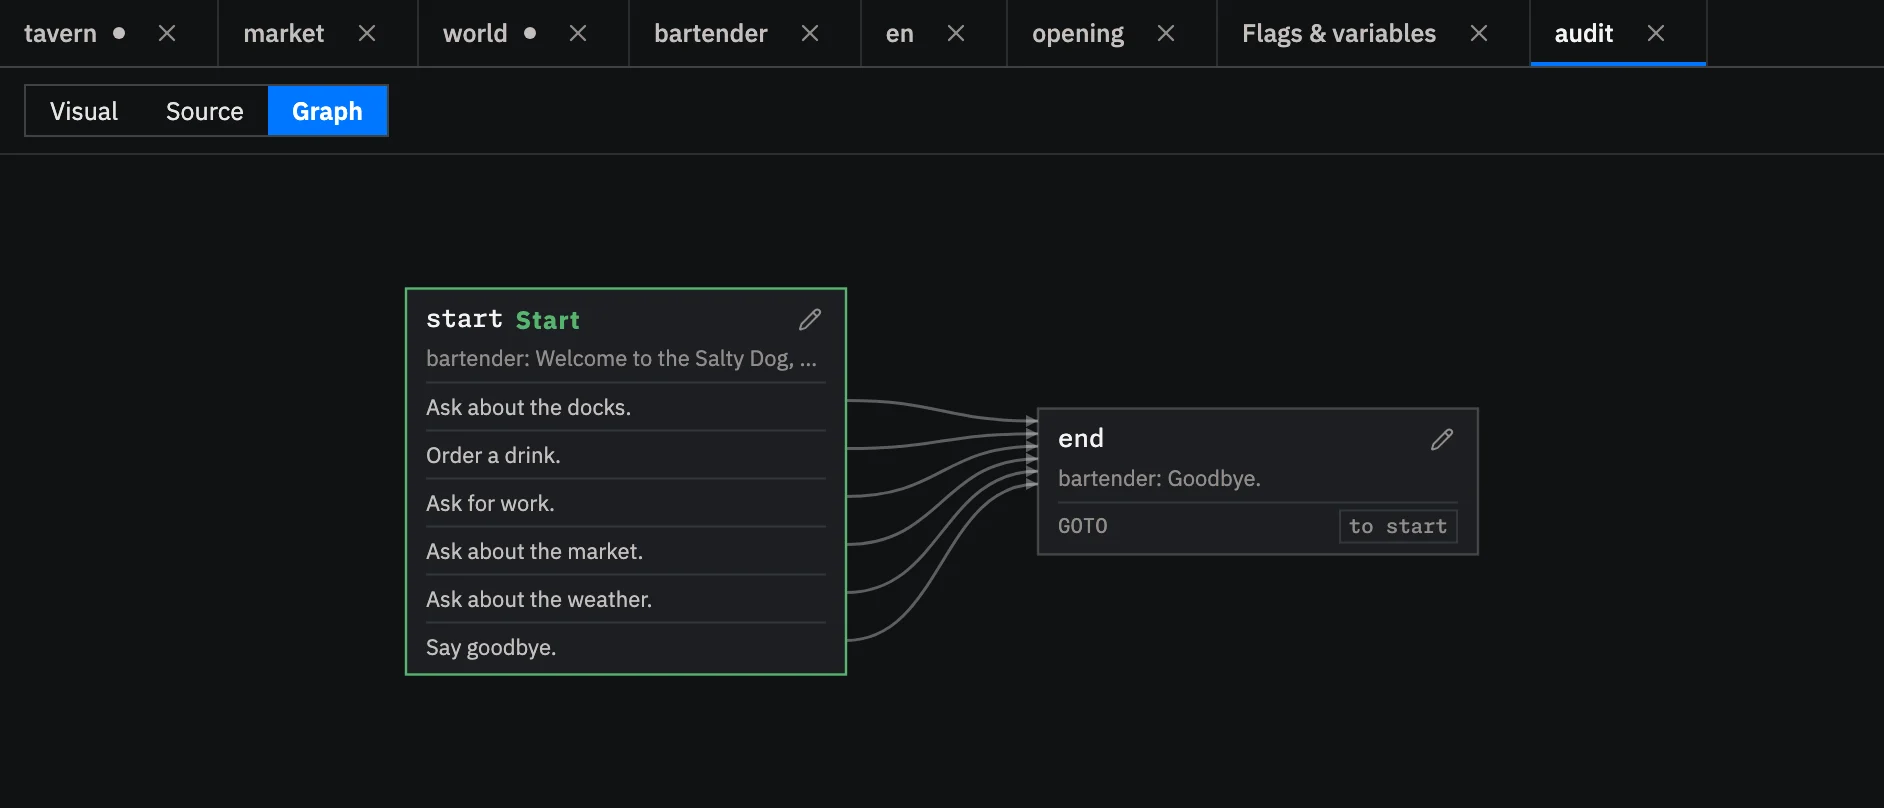
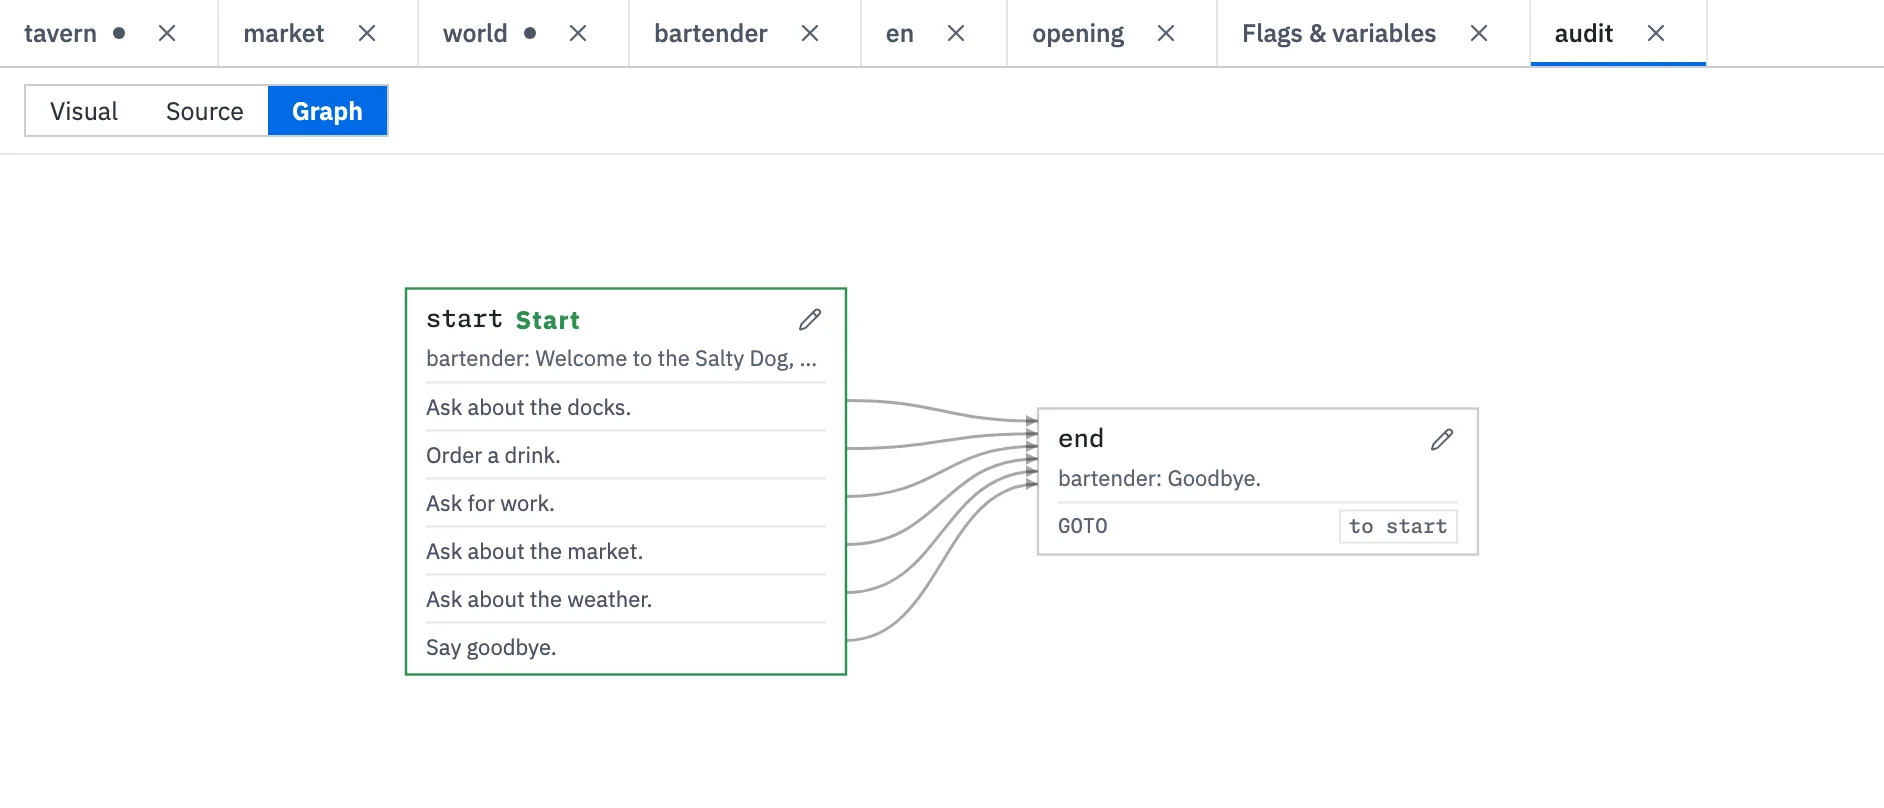
Solid lines show choices and other direct routes to later nodes. Dashed lines show conditional IF routes, which the conversation follows when their conditions are met. An END label marks a route that finishes the conversation. A label such as to start names the earlier node where the conversation continues.
Select a card to keep that node selected as you move between Graph and Visual. Select the card’s pencil button, or double-click the card, to open the node in Visual and continue writing. Drag or use two-finger scrolling to move around the graph. Pinch, or hold Ctrl while scrolling, to zoom.
Add conditions
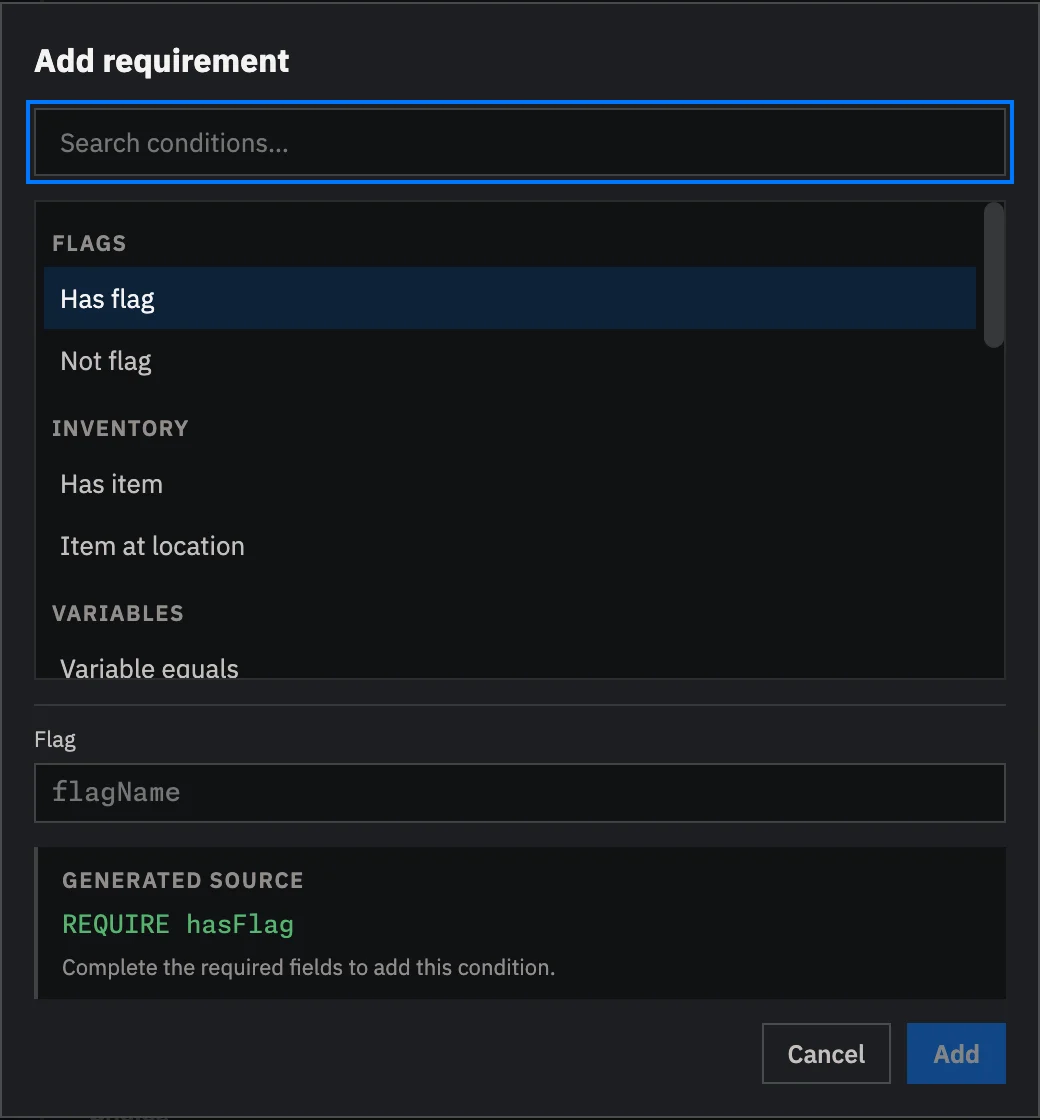
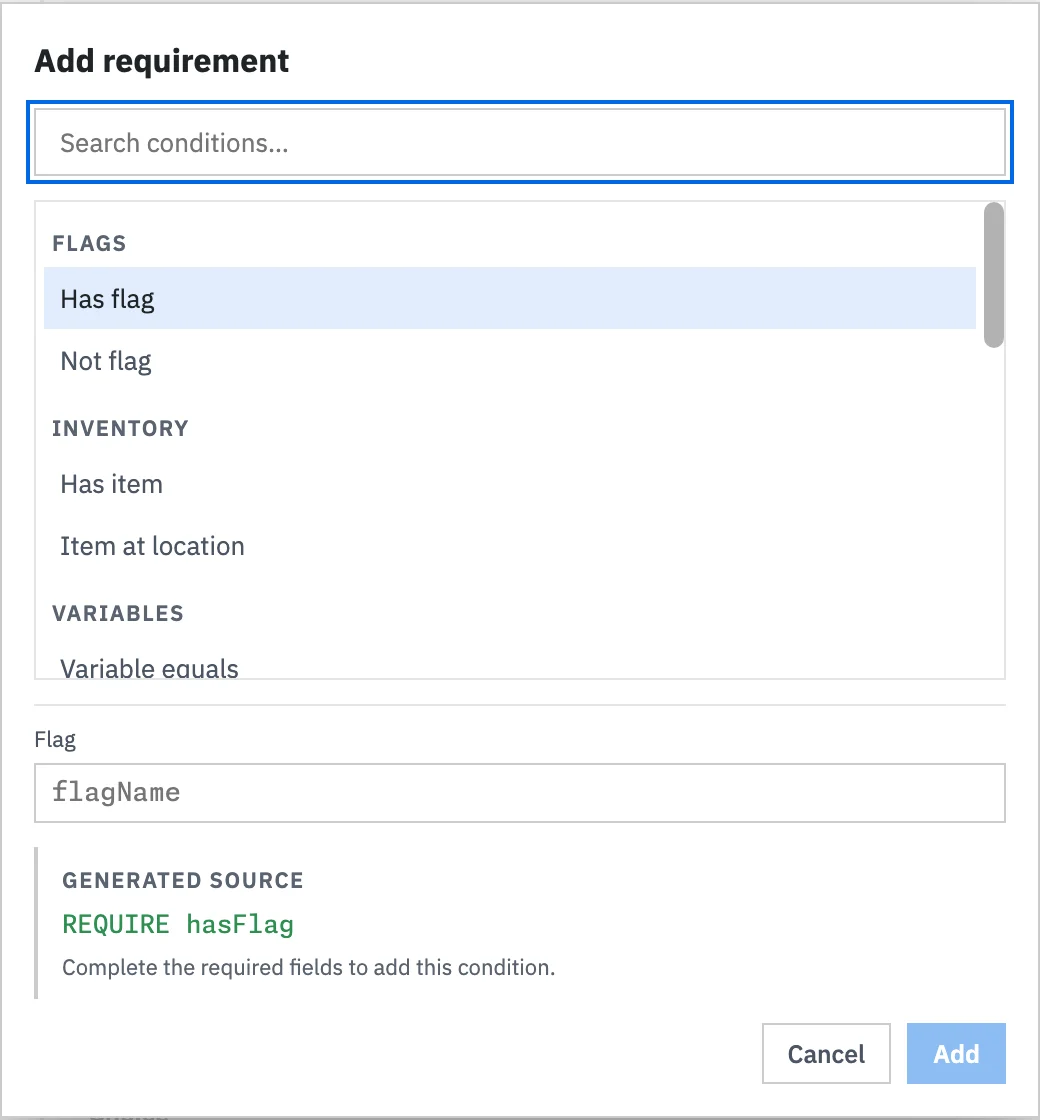
Section titled “Add conditions”Conditions decide whether a choice, trigger, or branch is available. Open the condition builder, search for a condition, and fill in its arguments.
Flag, variable, and stat fields suggest names already used in the project. An existing flag or variable also shows its use summary and note. If Studio labels the text as a new flag or new variable when you meant to reuse one, check the spelling before adding the condition. See Flags & Variables to review and document names across the project.
Common examples:
hasFlagreveals content after a story event.hasItemchecks inventory.questAtStageconnects dialogue to quest progression.relationshipAboveunlocks a response at a relationship threshold.rollperforms a random check.
See Conditions Reference for the behavior of every condition.
Add effects
Section titled “Add effects”Effects change game state when a node or choice runs. The effect builder has the same search and argument controls as the condition builder.
The same name suggestions appear when an effect sets a flag or changes a variable.
Common examples:
setFlagrecords that an event happened.addVariablechanges a number such as gold or reputation.addItemputs an item in the player’s inventory.setQuestStagestarts a quest or moves it to another stage.addRelationshipchanges a character’s relationship value.playMusic,playSound, andplayVideoplay media.notifyshows a short message to the player.startDialogue,endDialogue, andgoToLocationchange the current flow.
See Effects Reference for every available effect.
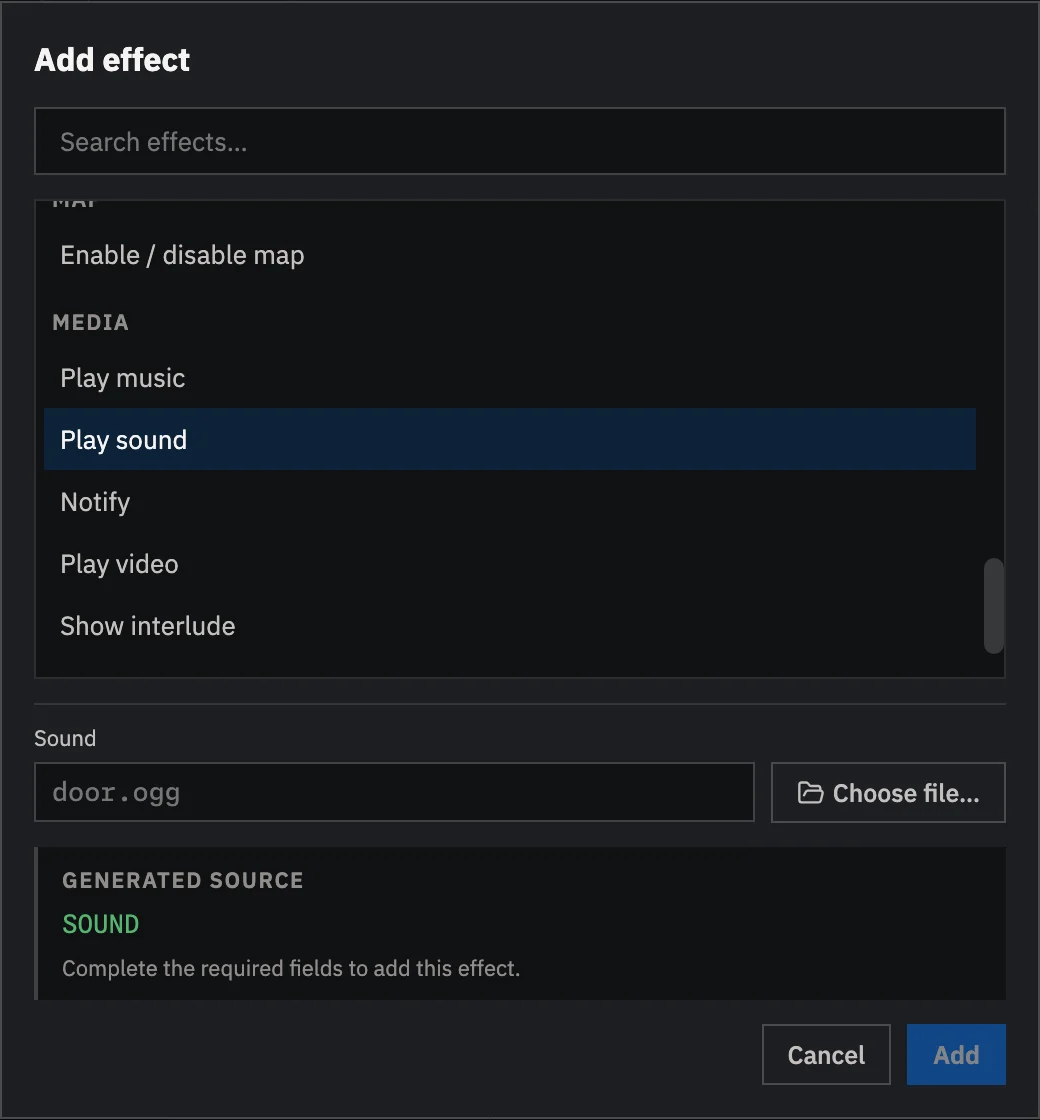
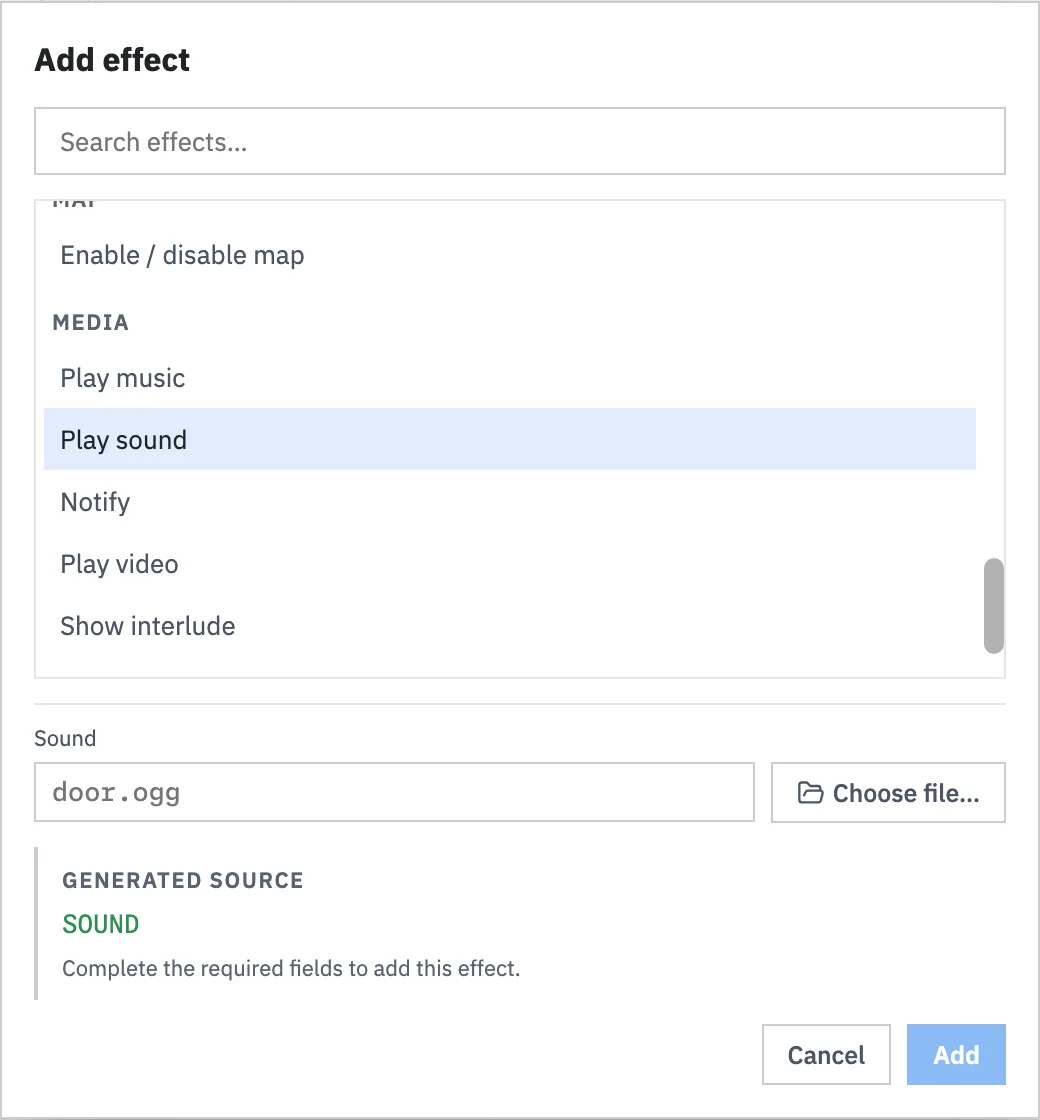
For Play video, Play sound, and Play music, select Choose file… beside the filename. Studio copies the chosen file into the matching asset folder and fills in its filename.
Use Source mode
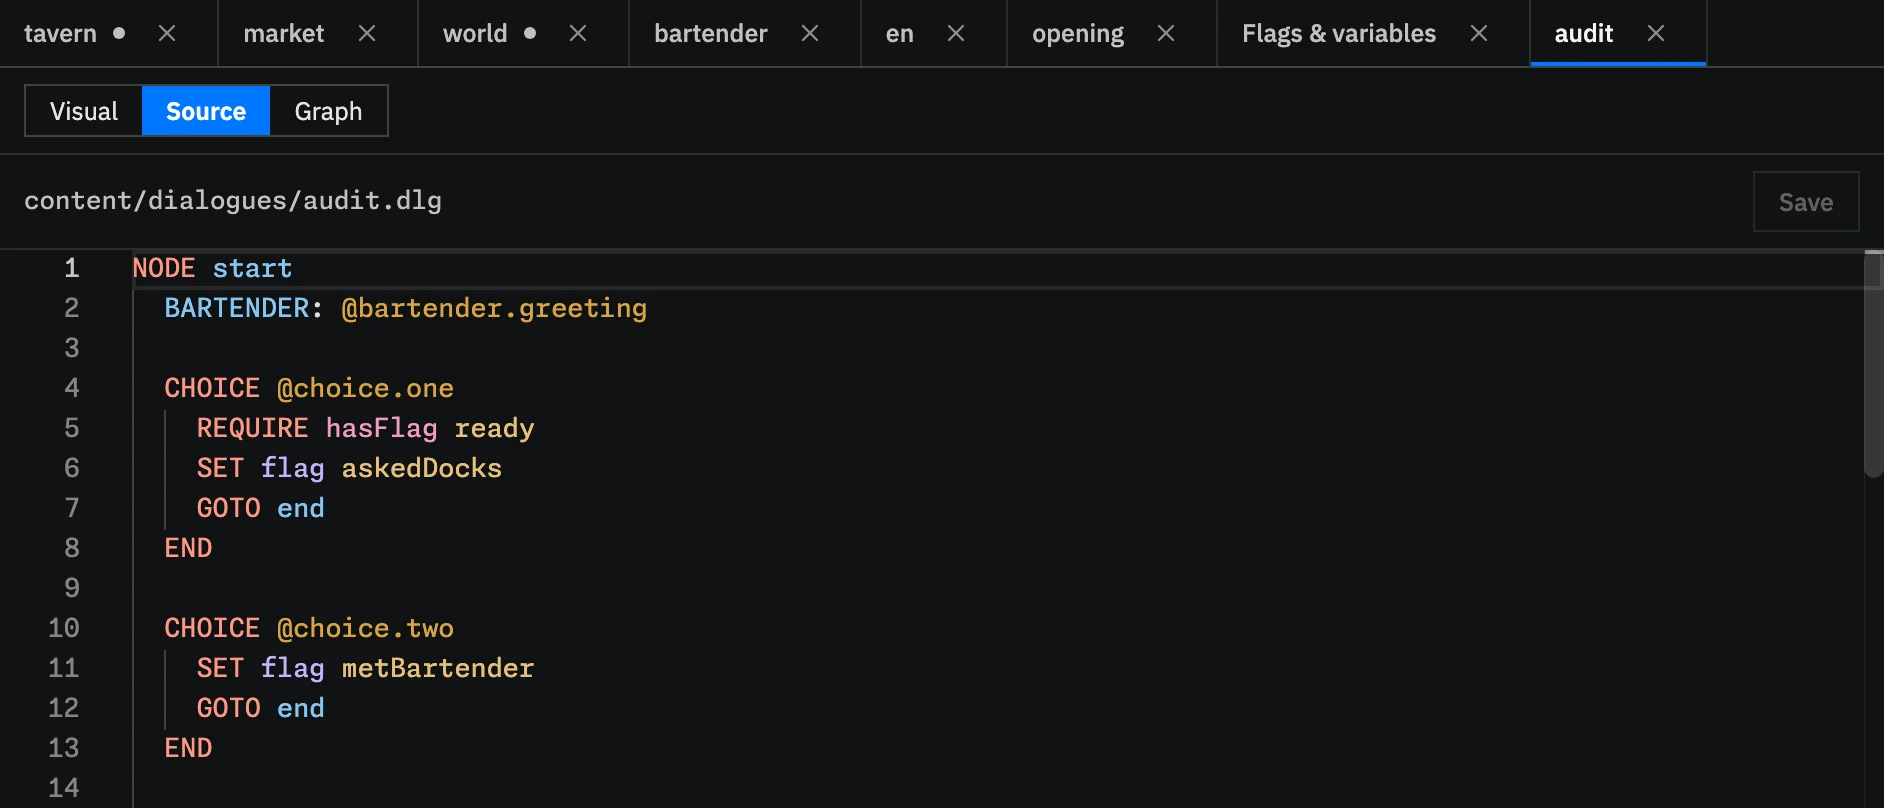
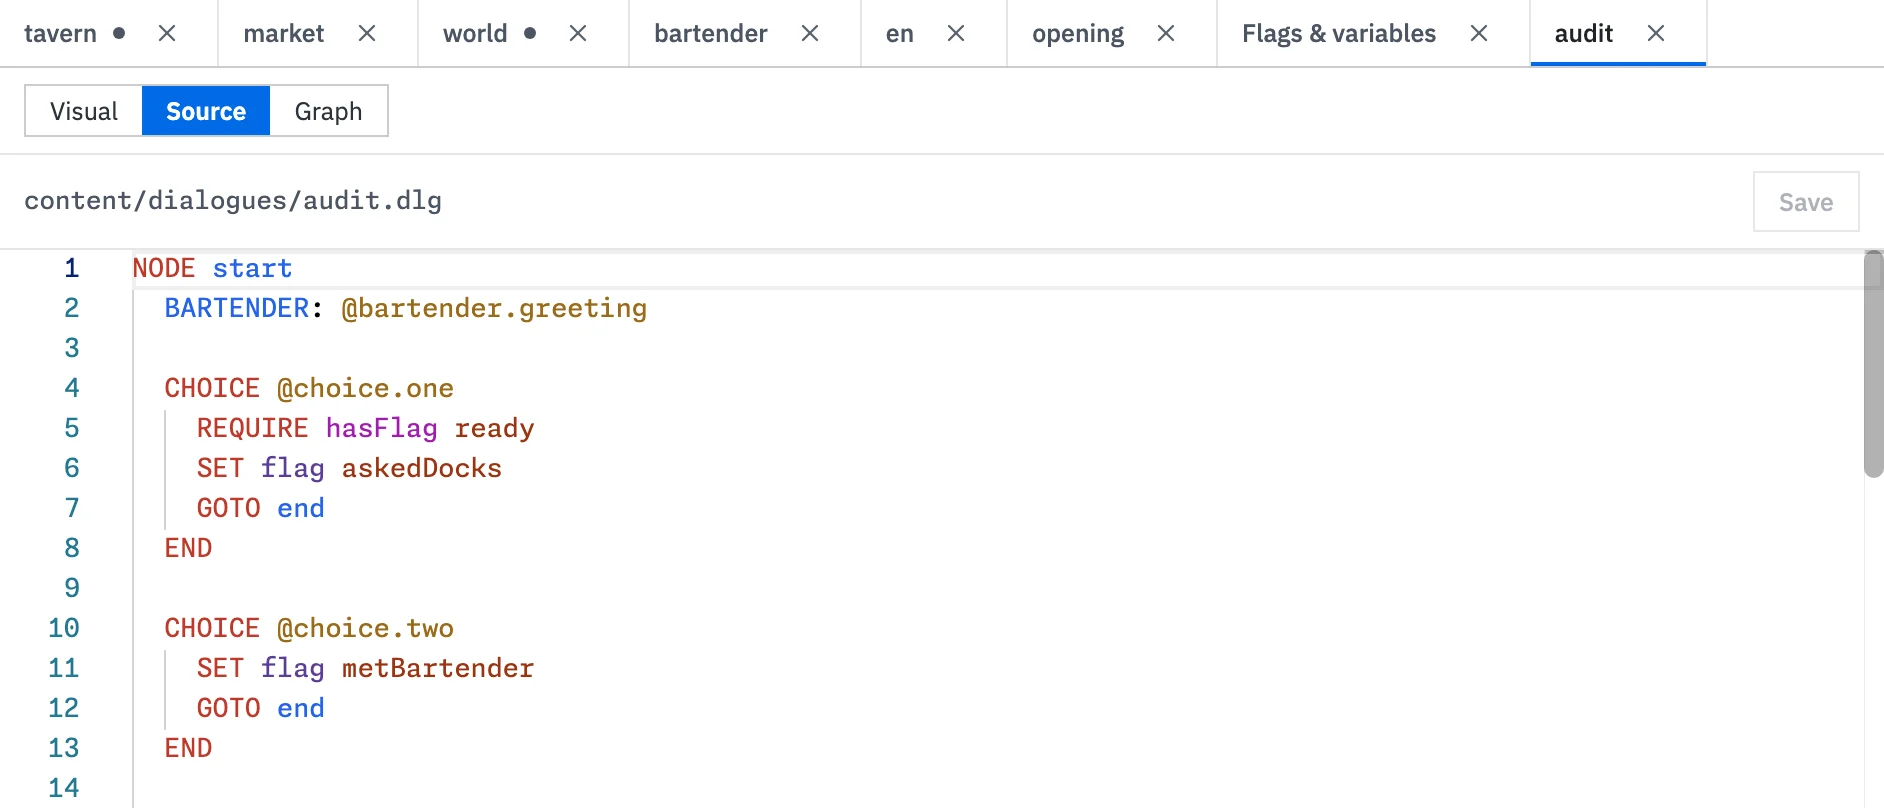
Section titled “Use Source mode”Select Source to write the dialogue as text or review its .dlg file. The editor gives commands, conditions, effects, references, literals, and localization keys distinct colors, making the structure easier to scan. Source and Visual edit the same file. Once valid text is saved, either view picks up where the other left off.
Dialogue IntelliSense
Section titled “Dialogue IntelliSense”Suggestions appear as you type. Press Ctrl+Space to open them again, use the arrow keys to move through the list, and press Enter or Tab to accept an item.
The list follows the cursor instead of showing every possible word:
- On a new command line, it offers node and routing commands, effects, and complete
REQUIREorIFcondition names. - After
REQUIREorIF, it offers condition names such ashasFlagandquestAtStage. - Inside a command, it offers values of the required kind from the current project: flags, variables, stats, characters, items, locations, quests, journal entries, dialogues, and interludes.
- After a quest ID, it offers that quest’s stages. After
GOTO, it offers node IDs from the open dialogue and the speciallocationroute. Boolean arguments offertrueandfalse.
This context is rebuilt from the text in the editor, so a newly added node can appear in GOTO suggestions before the file is saved. Suggestions remain available while a partly written dialogue is temporarily invalid. They stay out of comments and spoken text, where project IDs would only be noise.
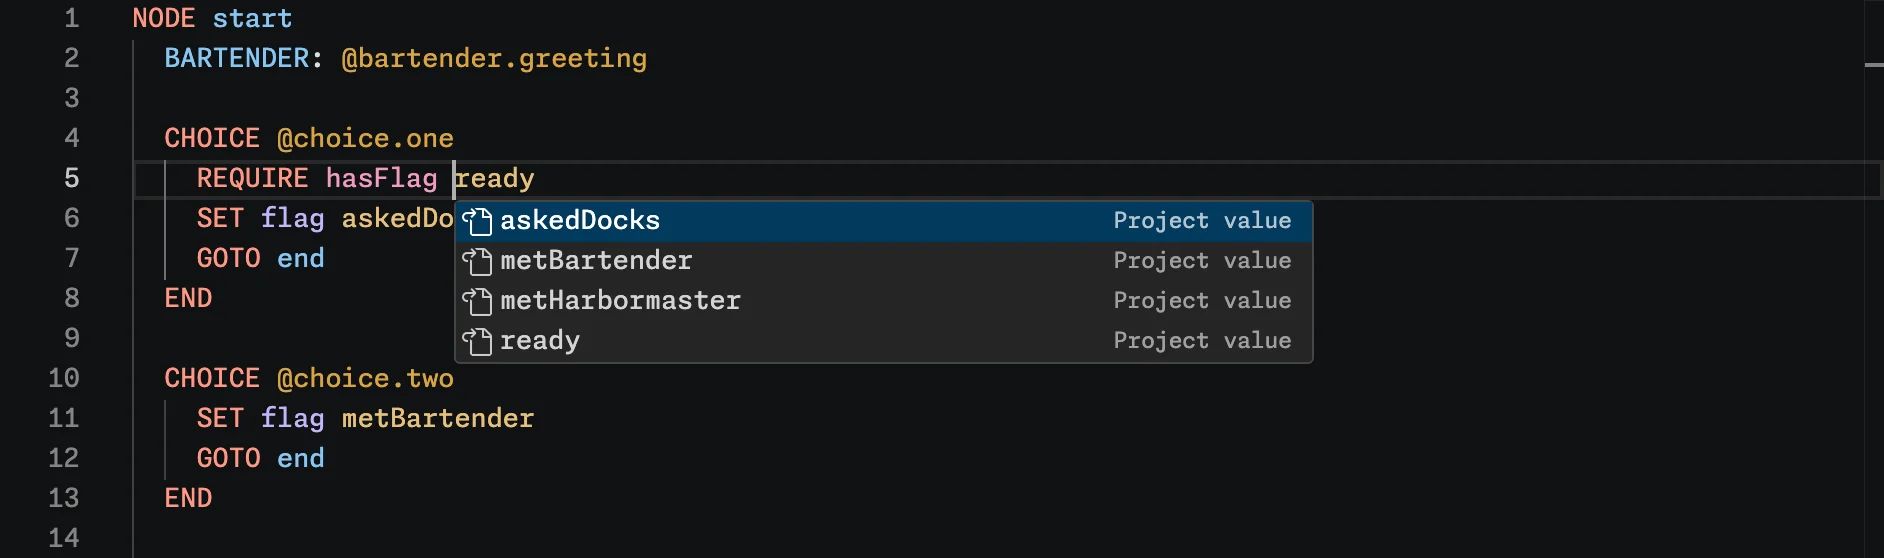
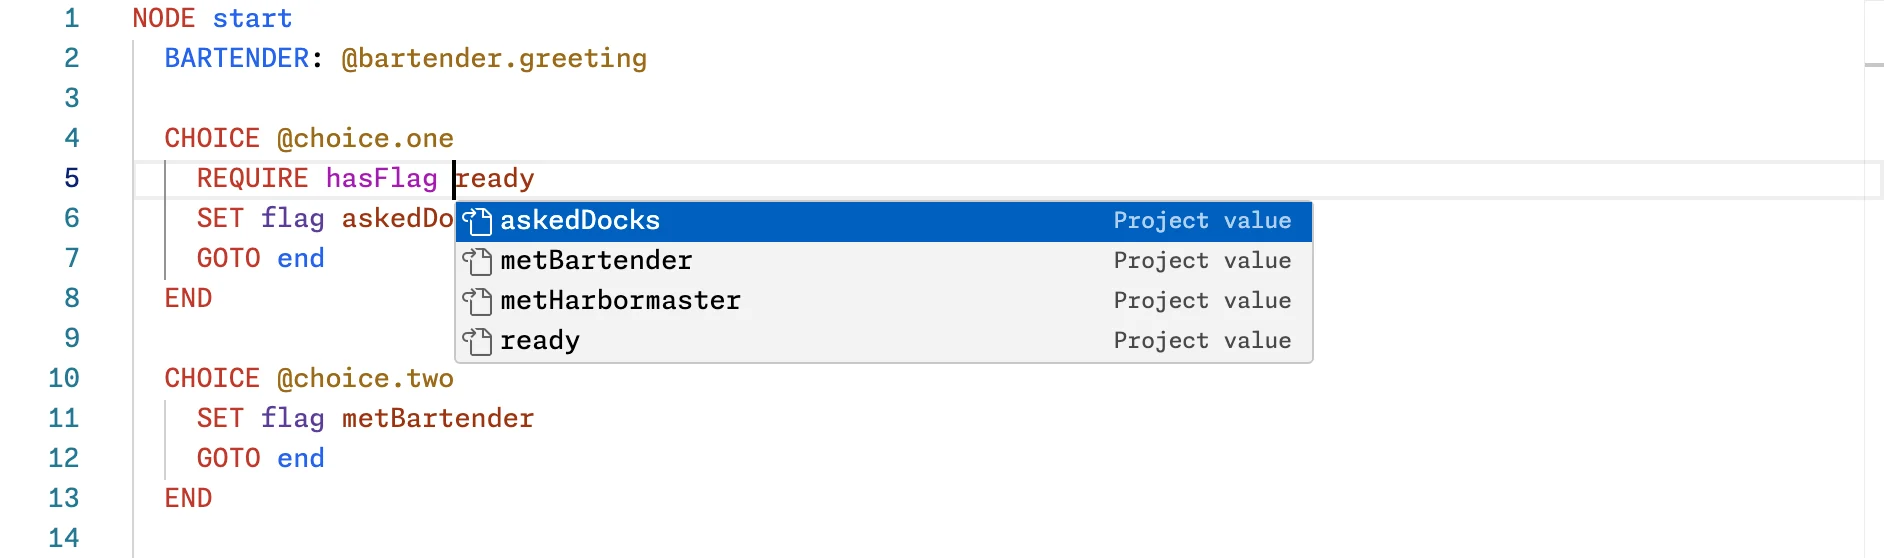
Hover over a dialogue keyword or condition name to see its syntax and argument names without leaving the editor. For example, hovering over questAtStage shows the required quest and stage arguments.
Save the file and select Validate to check syntax and references. Problems appear on the matching source lines, in the right panel, and in the bottom dock. Selecting a problem returns to its line when Studio can locate it.
Start with Writing Dialogues to learn how to write nodes, choices, conditions, and routes in a .dlg file. Use DSL Syntax when you need to look up a keyword or example.
Test from any node
Section titled “Test from any node”Select Play from here to open Playtest at the current node while keeping the state you have prepared for the scene.
You can also select Start at node… in the Playtest tab when you want to search for a node first.
Continue to Playtesting in Studio for the complete process.